One Room Challenge Week 3 Pantry Renovation
This past week we got a lot of tedious work done. Dan is a master at making my visions come to life and can tweak and fix just about anything to make it work. With that said; enter our cabinets.
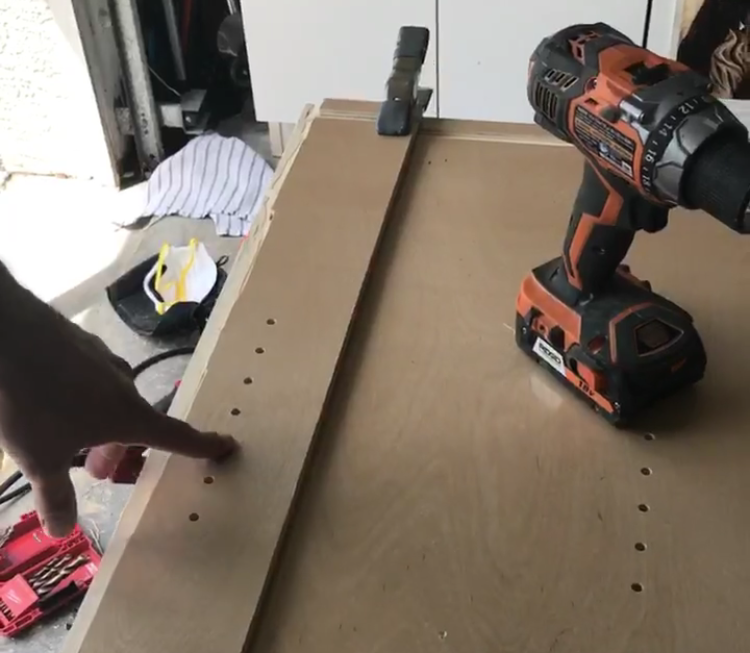
We wanted to match our existing kitchen cabinets and those are not custom made. We needed our base cabinets to be 21” deep vs the standard 24” so he had to trim off the extra length from all of the pieces, and when he did that, he also cut off the channel that was pre-cut into the wood so the pieces would slide and fit together correctly. No problem for my handy guy. He made his own channels, drilled new shelf holes, and completely customized our cabinets. Can I get a slow clap?!
He used a router to take of the excess wood and make a channel.
He used the piece he cut off as a template to make the new shelf bracket holes. Smarty pants ;)
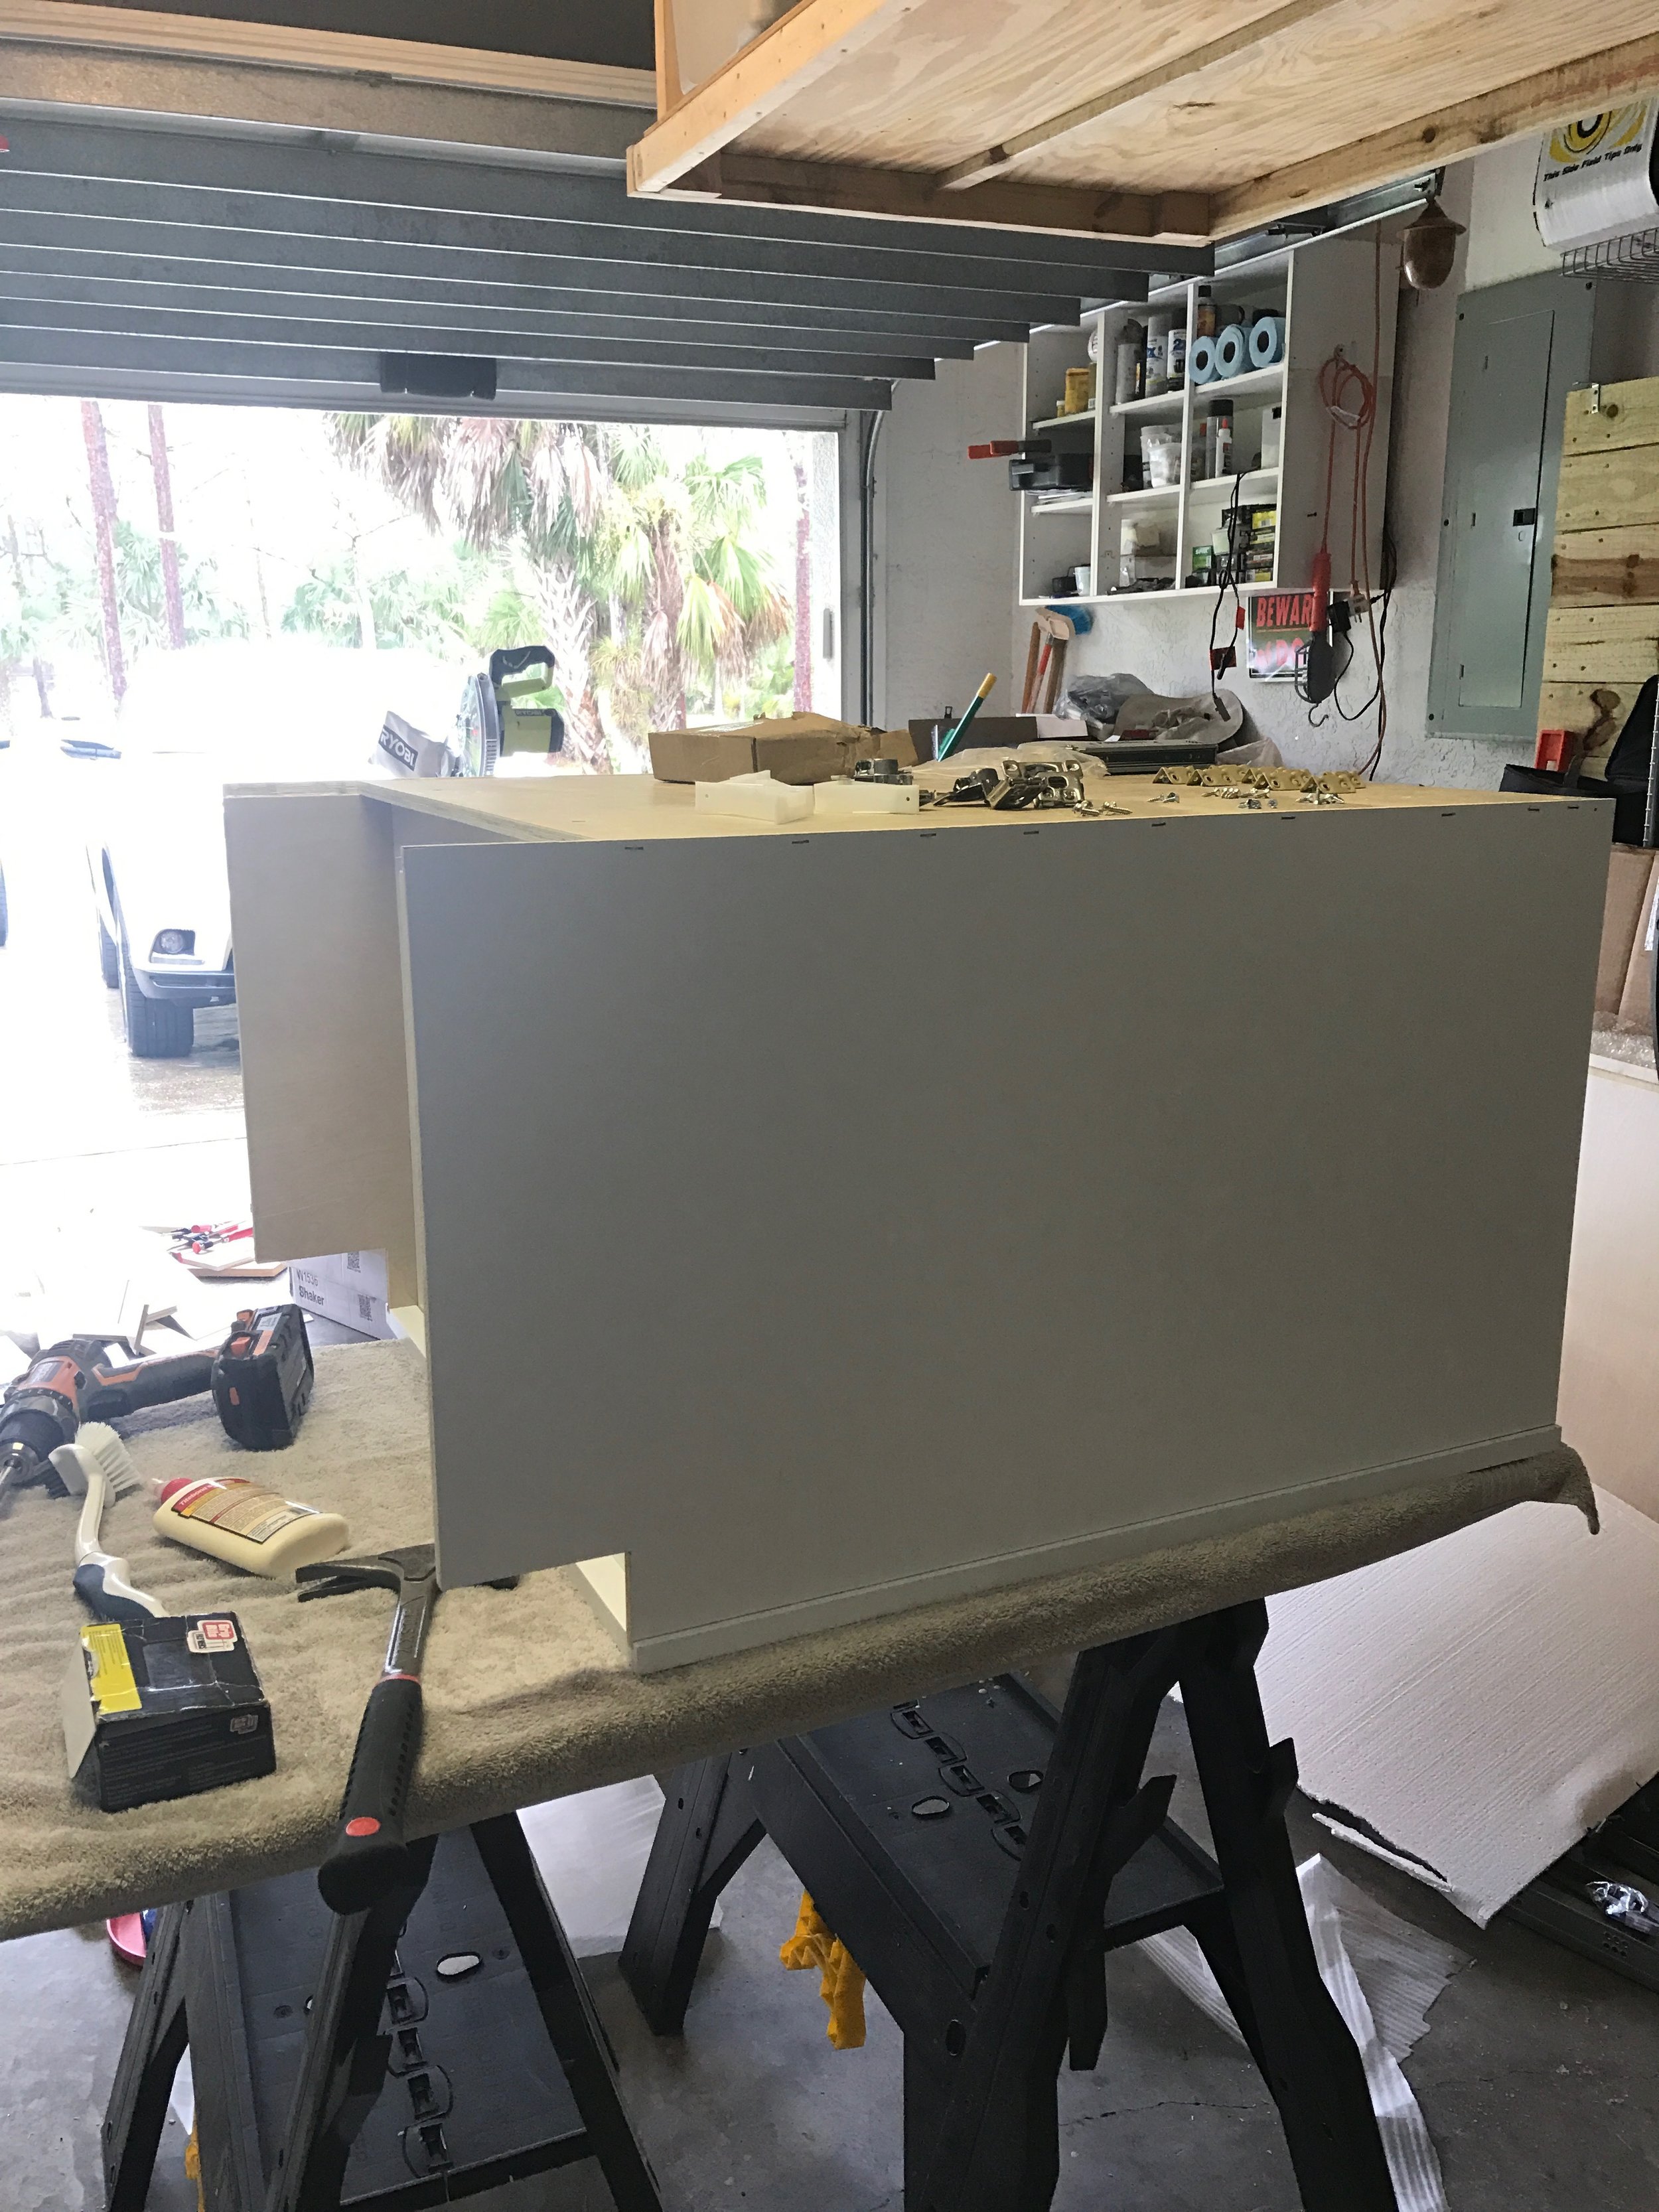
No we have the channel, and the shelf holes and its ready to assemble.
One newly custom cabinet down, one to go! Oh plus the uppers, but those don’t have to be customized. Whew.
This upcoming week he needs to tackle customizing the drawers and I have a feeling that’s gonna be a little harder. But he can do it!!
Now what has the other half of this renovating duo (me) been up to this week? I went to the stone yards and searched for a matching piece of our quartzite. That was a mission! Especially because I had to bring the girls along for some of it. Can you say nightmare?! A stone yard is no place for kids but you gotta do what you gotta do! Buuuut it was worth it because I got really lucky and found this beautiful baby!
I’m so in love!
If you’ve been following along, you will know we had planned on doing butcher block but the more we thought about it, the less it made sense. We have the laundry room right off the pantry and when the door is open, which is most of the time, you would’ve seen three different countertops in a row. Quartzite- butcher block- oak plywood. Nope. With a different backsplash and a different counter it just was going to be too much. This quartzite stone was called “London Sky” when we bought it for our kitchen but then this stone yard is calling is “White Macaubas”. Tomatoe, tomato- I just call it gorgeous!
I also put the joint compound (that’s what we used as our hard coat) on the drywall joints and it is ready for me to paint this week. It took a few coats because it shrinks as it dries but I was actually pretty good at it. I always feel so good when Dan wants to do something himself (because he is a bit of a control freak lol) but then I convince him I can do it, and I DO it! BOOM!
Before
After
I’m so excited as to how this is all coming together!!! Can’t wait to see it all done. Thank you again for your enthusiasm and support. We love doing projects together and it makes it that much more fun when we have friends following along and cheering for us.
What’s left:
cut out floor
replace wood where needed
paint
hang uppers
install base cabinets
countertop install (by professionals)
drawer modification/ new soft close hardware install
baseboard install
backsplash install
make or buy shelves/ install
crown install
style and enjoy!
I’m sure i’m forgetting something. We’re going to be busy! lol Be sure to stop by the OneRoomChallenge website to see what all of the other designers and bloggers are up to. And head to my instagram to go behind the scenes and watch our ORC stories. See you next week!


