DIY Potato Stamped Curtains
So this project was good and bad. The good- it looks awesome and you can make a beautiful and unique textile. The bad- it takes a lot of time and patience. For each curtain panel it took about 2.5 hours to complete. BUT, if you have the time, it was a very cool project. SO here we go!
Materials:
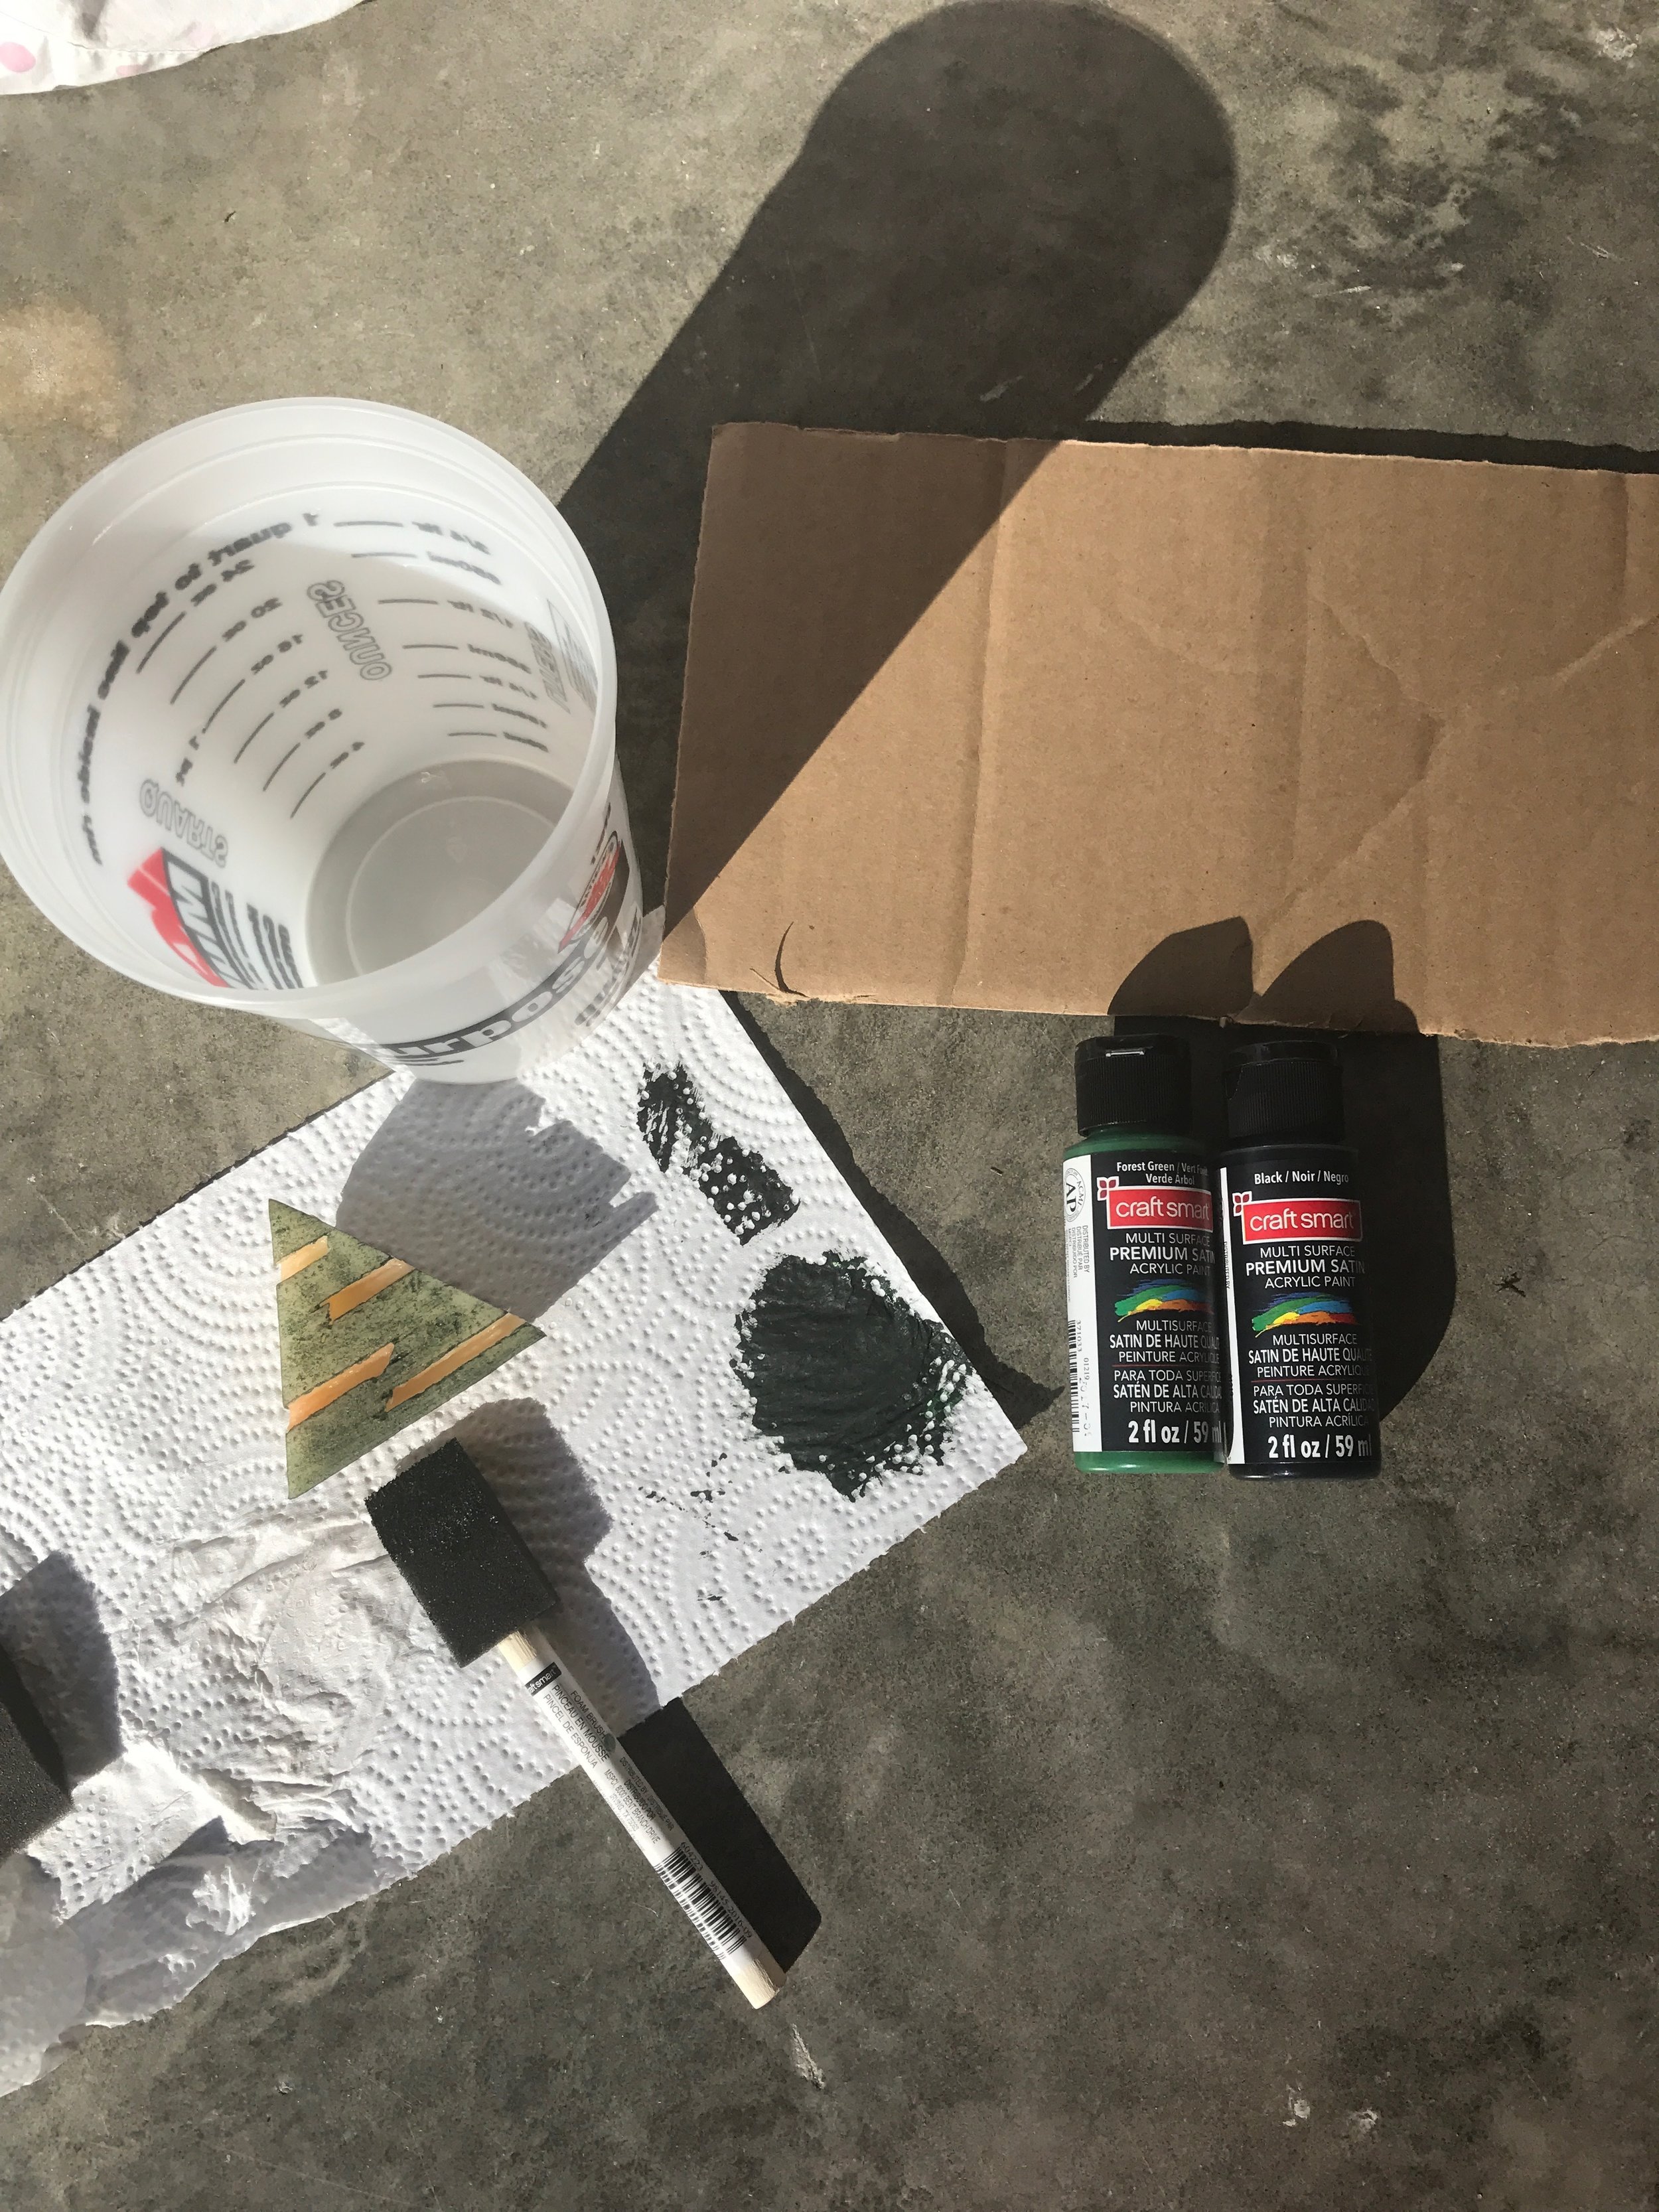
Plastic cup (with a lid would be great so you can store the unused paint)
Sponge brush
Plastic sheeting
potato
knife/ pumpkin carving tools
fabric paint I used this green and basic black to make my custom mix
fabric or curtain panels
Spread out your plastic painter’s sheet onto a smooth, flat surface. Place your fabric on top. After I got started, I neatly folded my fabric up so that I wasn’t sitting on top of it as I stamped, making it all wrinkled. Lesson learned.
Cut your potato in half. Draw your stamp shape onto a piece of paper and trace onto the potato or free hand carve a design into your sliced potato. Here is mine. Feel free to screenshot this, print it, and use it for your own stamp.
3. Mix your paint, or if you’re using a pre-made color, spread the paint onto the potato stamp with the foam brush.
4. Start stamping! Be sure to keep your pattern as straight as you can. I used the top seam as my guide for this pattern. Also, I applied more paint between each stamp but if you want more variation, you can apply paint every other stamp.
I stuck a fondue fork through my potato about half way through stamping to make it a bit easier to hold on to. WARNING: I also stabbed myself in the hand in the process so be careful of whatever sharp object you are jabbing through said potato.
So cool, right?! Like I said, it took me about 2.5 hours of non-stop working to do one panel so make sure you have a nice block of time set aside. You don’t really want to start and stop because the potato starts to get a little mushy on you after all of that paint and handling.
That’s it! I haven’t tried to launder them yet so I’m not sure how they hold up to cleaning or water. I plan on just spot cleaning as needed. If I end up doing a trial wash, I’ll be sure to let you know what happens.
OK- now go out and stamp yourself some textiles!! Be sure to tag me on instagram @hartley_home and use the tag #hartleyhomies for a chance to be featured.


