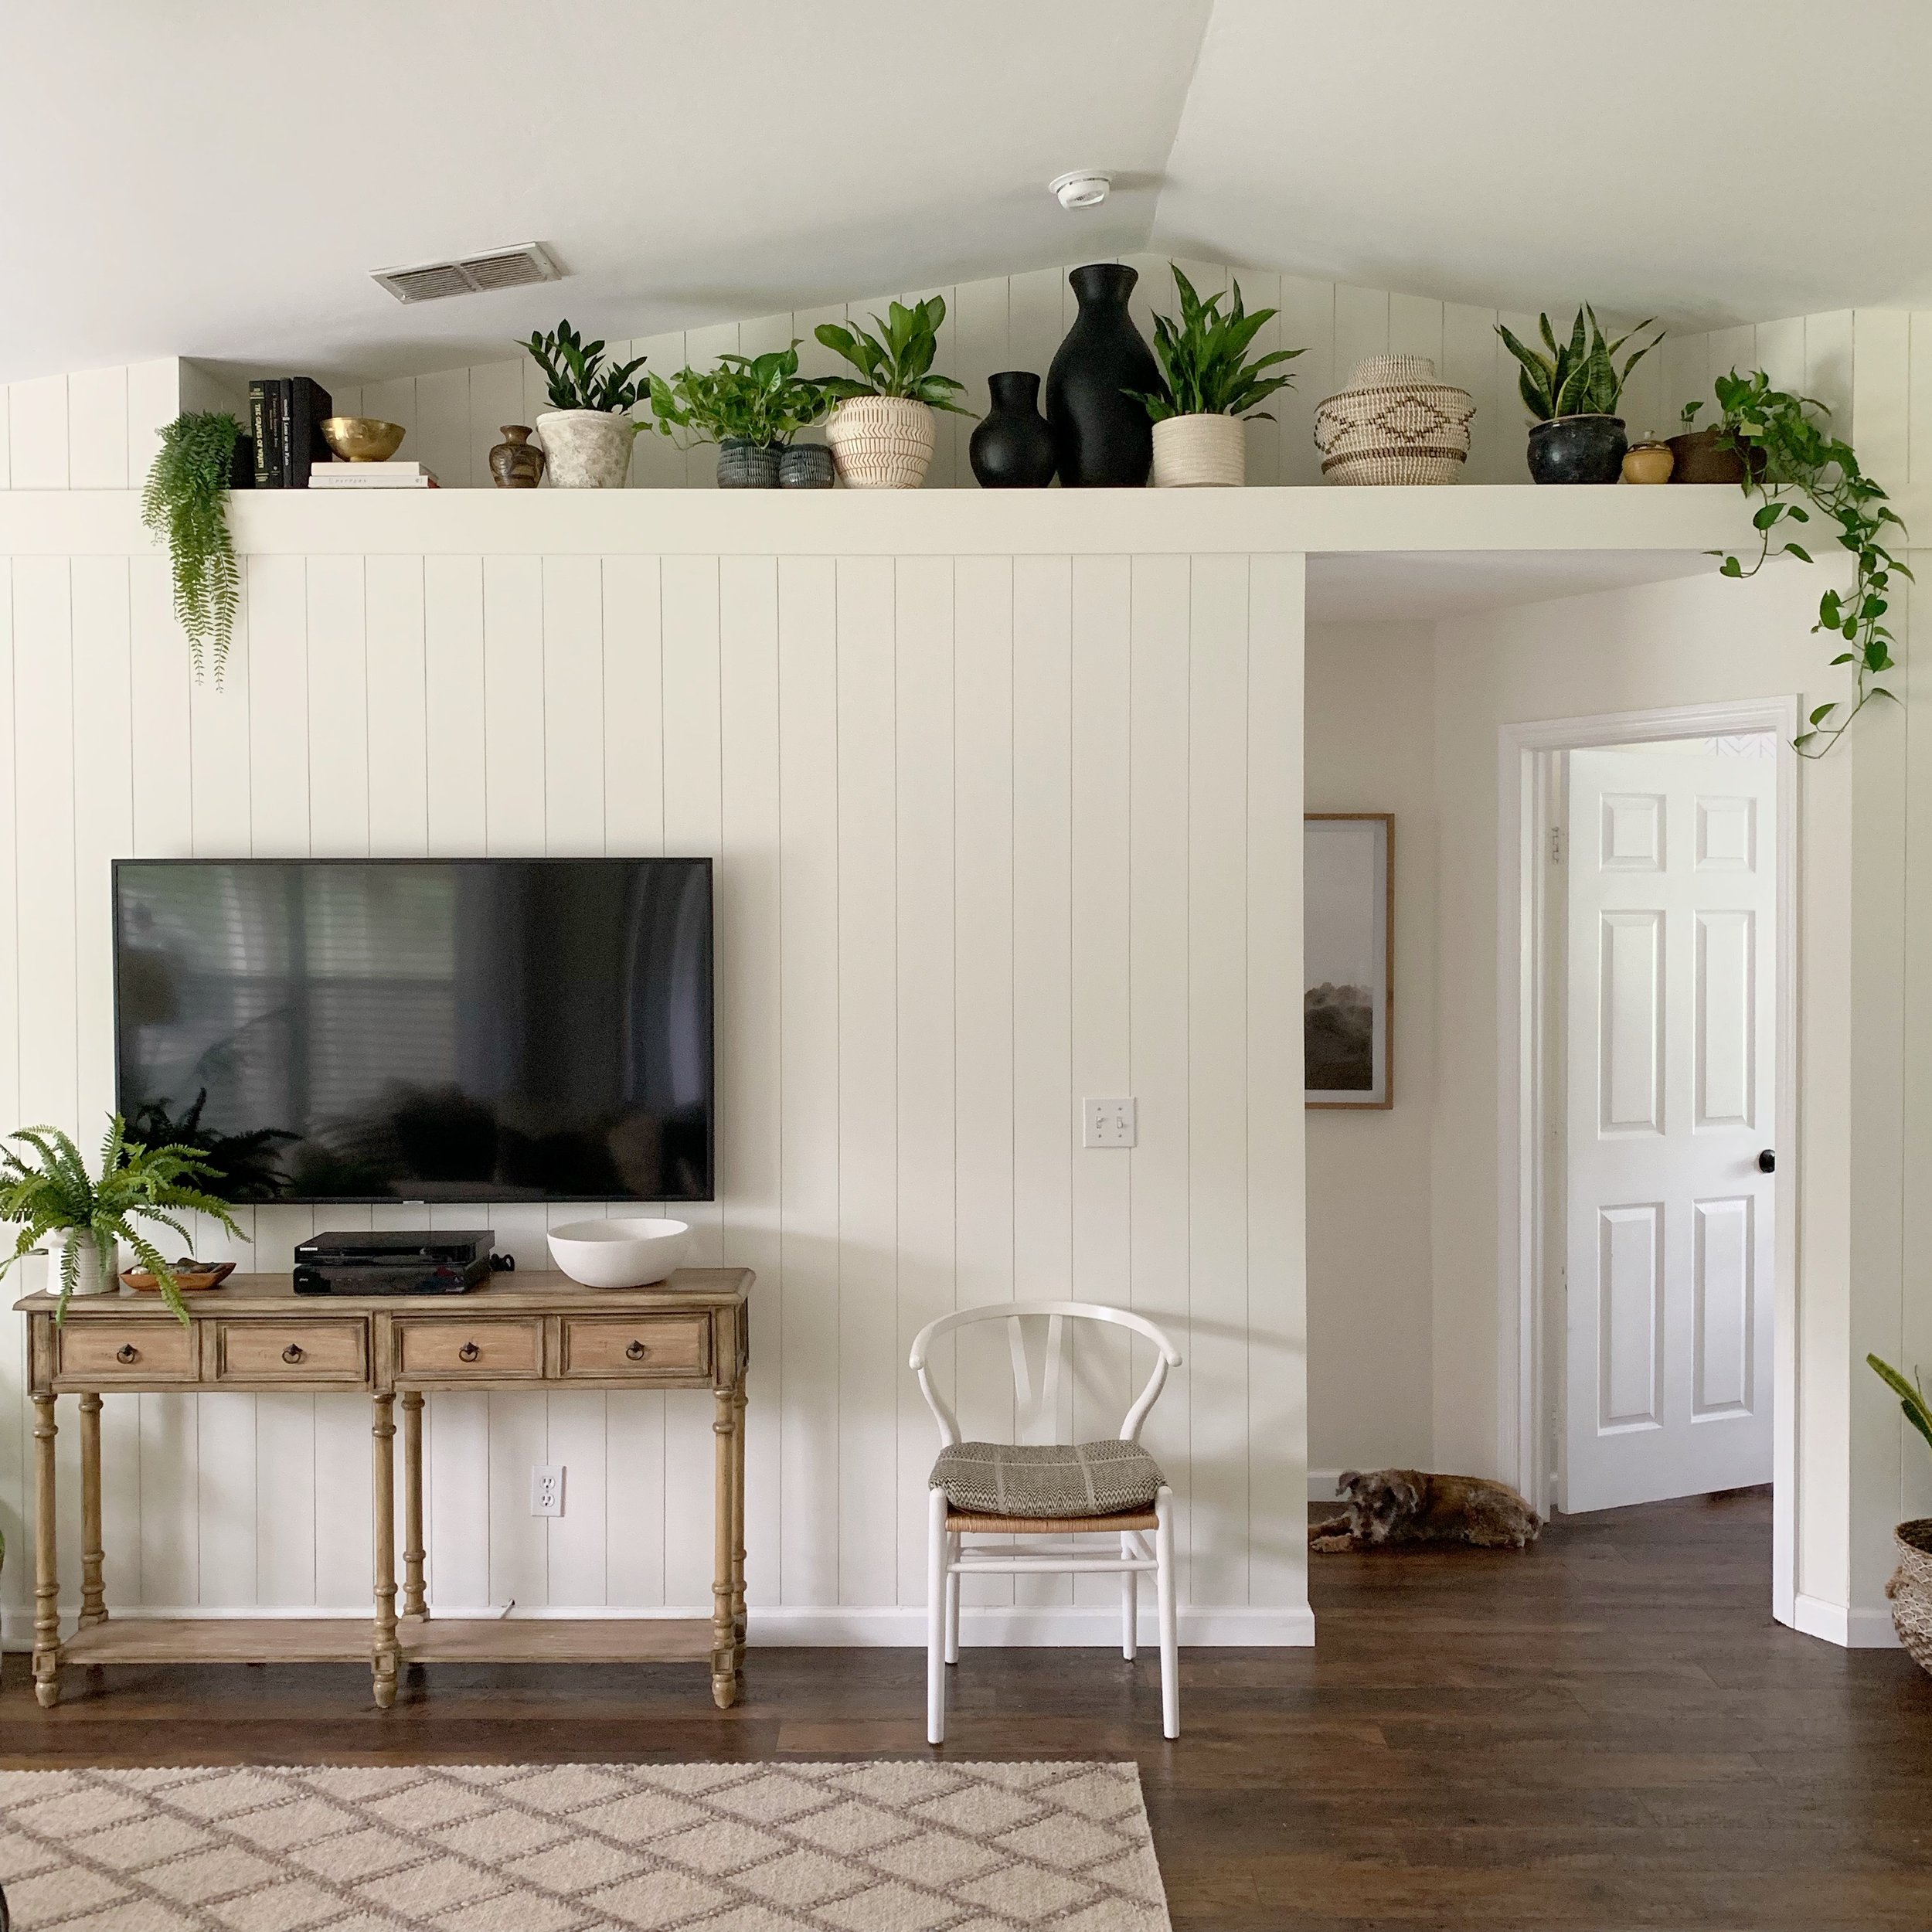
Budget Shiplap Wall
This wall of ours was a LOT of work. However, if you don’t have a plant shelf, which most of you won’t, it will be EASY! If your ceiling isn’t sloped, it will also make your cuts a piece of cake! Lucky you!
This was one of our most inexpensive projects to date and made such an impact in our home. We spent under $200 for wood materials and it would have been even less for a standard wall without the header board. The 4x8 plywood we used is only $11 a sheet! So if you’re doing an accent wall, this will be such a great, low budget project for you.
(For this tutorial, I’m going to explain how to do a regular wall without the plant ledge since that’s the typical scenario. If you have any questions, please send me an email and we will be happy to answer them for you!)
So, want to add a beautiful shiplap wall to your home? And do it on the cheap? Here’s how.
Materials:
plywood- we used this one so it would be thin enough to keep our existing baseboards *$$ and time saver! Keep in mind, this thin wood gives you a subtle shiplap look. The thicker the board, the more intense your texture/effect will be. We love that it’s subtle for our home. I just wanted to add a little bit of interest to the wall and this achieved just that.
nail gun- Dan bought this one and is OBSESSED! Not having to deal with a compressor is amazing
5/8“ brad nails
paint - for this I used the same paint and sheen as my wall paint so it would all match
STEP 1- Cut the wood
We knew that cutting our wood strips would be a little tricky since the boards are 8’ long. We used the table saw and had to work together to keep the wood straight as we pulled it through the saw. We went with 5” wide strips. I wanted the shiplap to feel more coastal/modern than farmhouse and in my opinion, the thinner panels help to achieve that look. You can check my instagram story highlight “Shiplap Wall” to see us in action.
STEP 2- INSTALL THE WOOD
Once you have all of your strips cut, it’s time to glue and nail them on. Warning- DON’T TRUST YOUR WALLS. They are crooked little jerks. I guarantee it. Use a level (metal if you can) and mark a straight line on your wall as if you were installing wallpaper. You’re going to want to continue to check that each board is level as you install it. You may have cut a strip crooked and you don’t want a bunch of crooked lines on your wall.
We found that applying a thin strip of glue around the edge (but not too close) was good. Then we nailed the boards into the wall about every foot or so just to make sure it was really on there. Dan used 5/8” size nails so that they wouldn’t go too far into the drywall since our wood was so thin.
To space the boards out we just used a scrap piece of wood of one of our boards. It was a really good spacing visually for us and also pretty easy because they’re larger than a nickel or any other coin that us crazy DIYers use for spacing our shiplap. ;)
STEP 3: FILL THE NAIL HOLES, CAULK AND SAND YOUR WOOD
Once the wood was installed, it was time to use wood filler on all of the nail holes. That was a loooooot of nail holes. You will also need to caulk around all of the edges and try not to lose your mind. I hate caulking.
Once your wood filler is dry, wear a mask and sand the wood with 220 sandpaper to make it all smooth and get rid of any imperfections in the filler. Wipe the wall with a tack cloth or a slightly damp cloth to remove the sanding dust.
STEP 4- PRIME, SAND AGAIN, AND PAINT
Now you’re ready to prime the wall! I used a small paint brush to paint the trim and in between each panel first. Then I rolled the primer over the boards. I kept my paintbrush handy so that if any paint dripped into the seams, I could get it out.
I did one coat of primer and then sanded it with my 220 grit sandpaper again to get the wood nice and smooth before painting. Remember to wipe down your wall again before you paint to remove any dust. Finally, I applied two coats of my paint. The paint took so well with the first coat that the second coat was easy! Choose a high quality paint and it will be so worth the extra money.
STEP 5- STARE AT YOUR NEW BEAUTIFUL WALL
And that’s it! Now go cover a wall in some pretty striped texture and tag me on instagram @hartley_home so I can see!


