DIY Closet Upgrade and Organization with Closets by Liberty
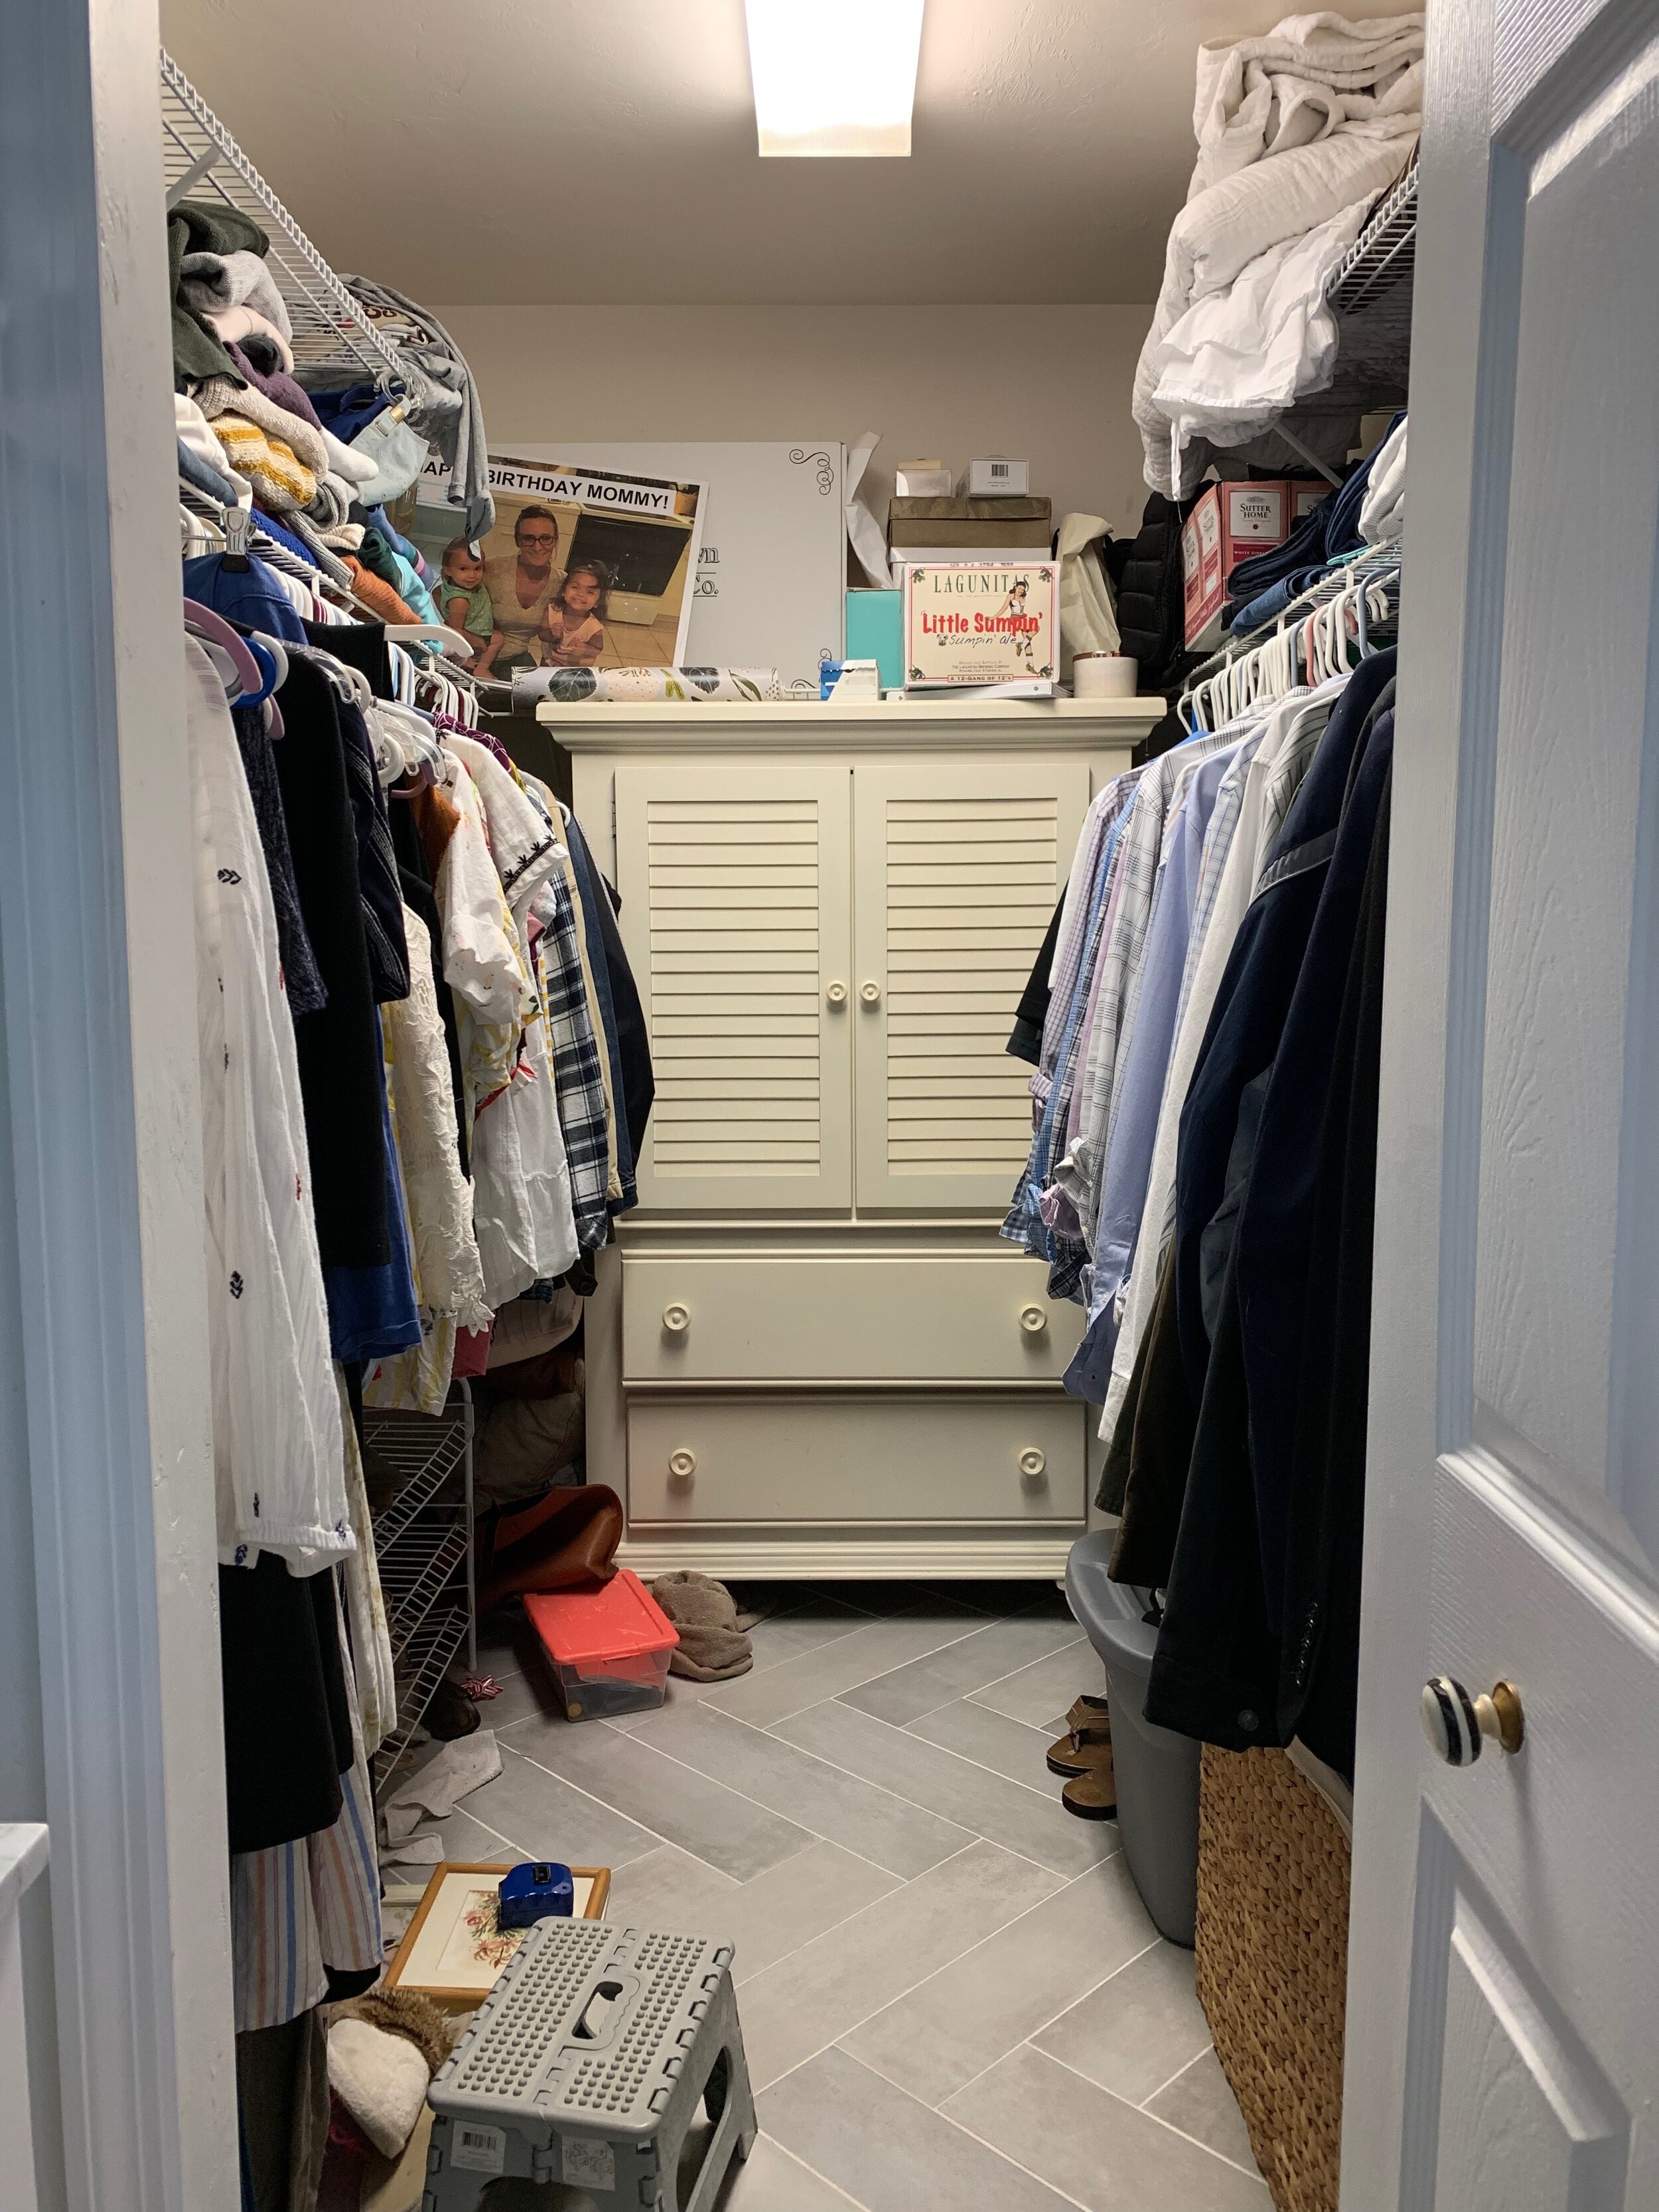
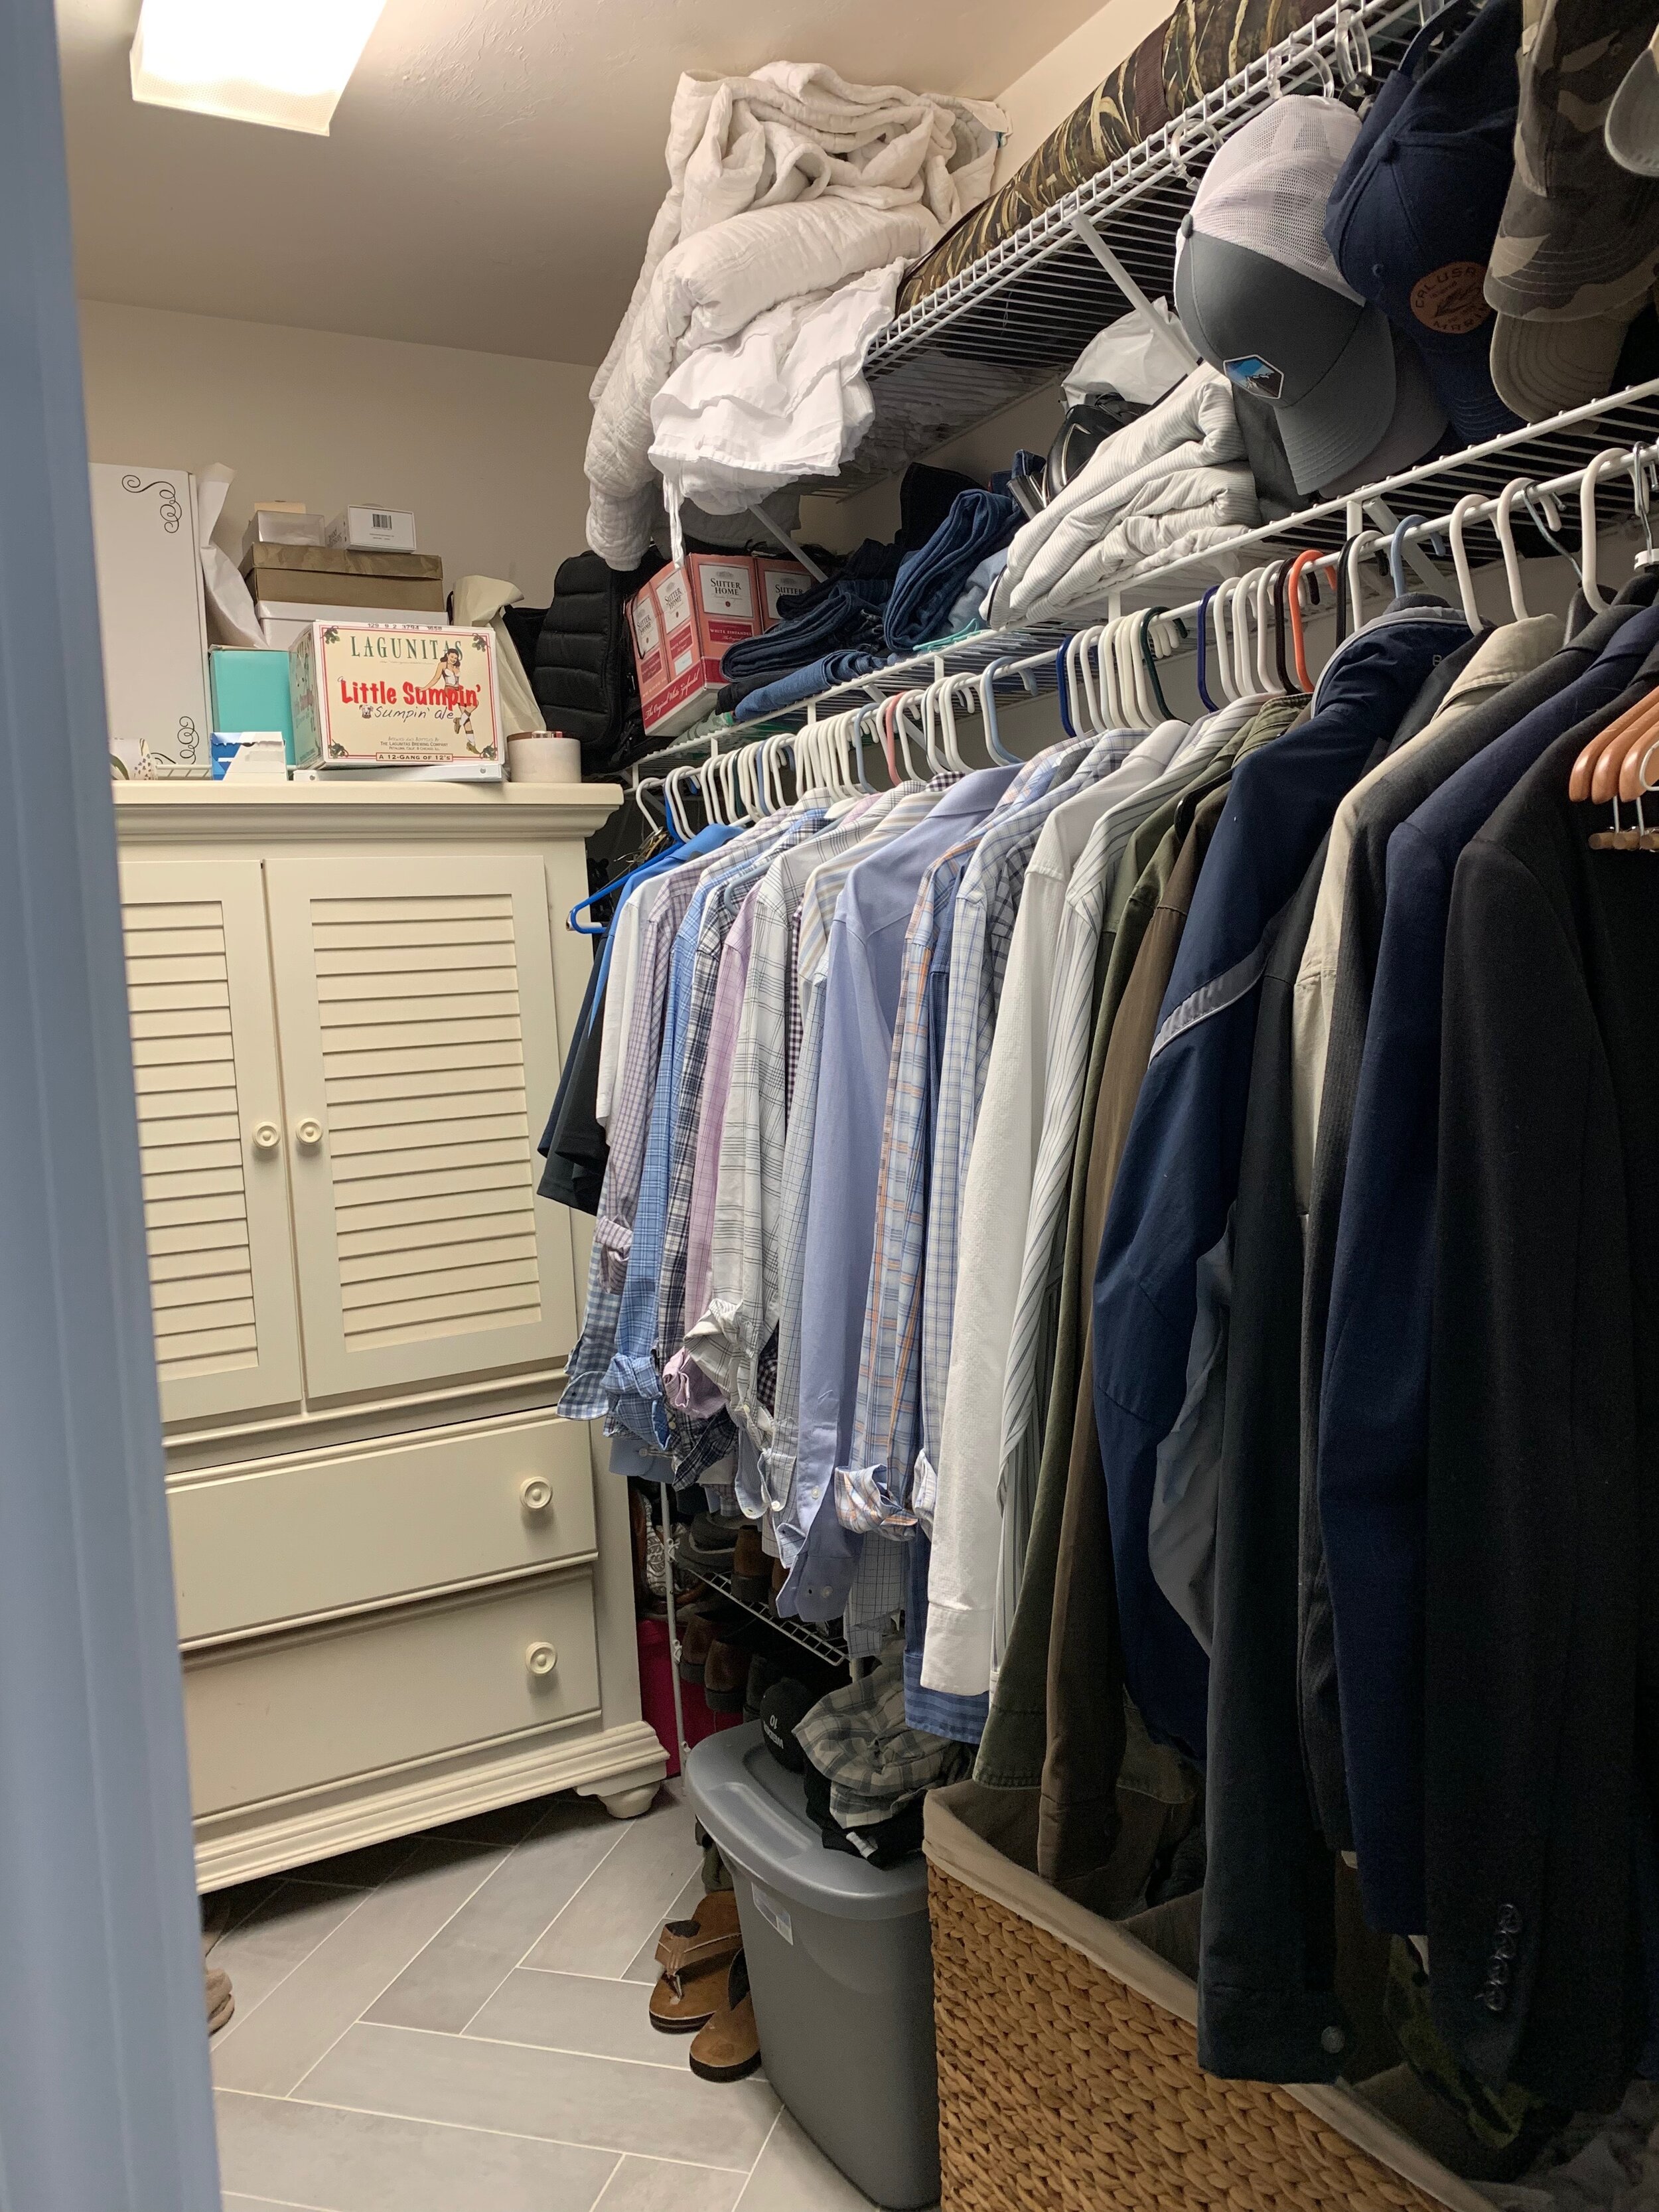
A “grown ups” closet, as I like to call it, has always been something I’ve wanted but wasn’t sure I’d get. When Closets by Liberty agreed to partner up for our closet refresh I was beyond excited! Let me show you the before so you can see why I’d be so happy for this upgrade.
I’m actually embarrassed to show you that. Ha! But the after is so good I don’t even care if you see the before.
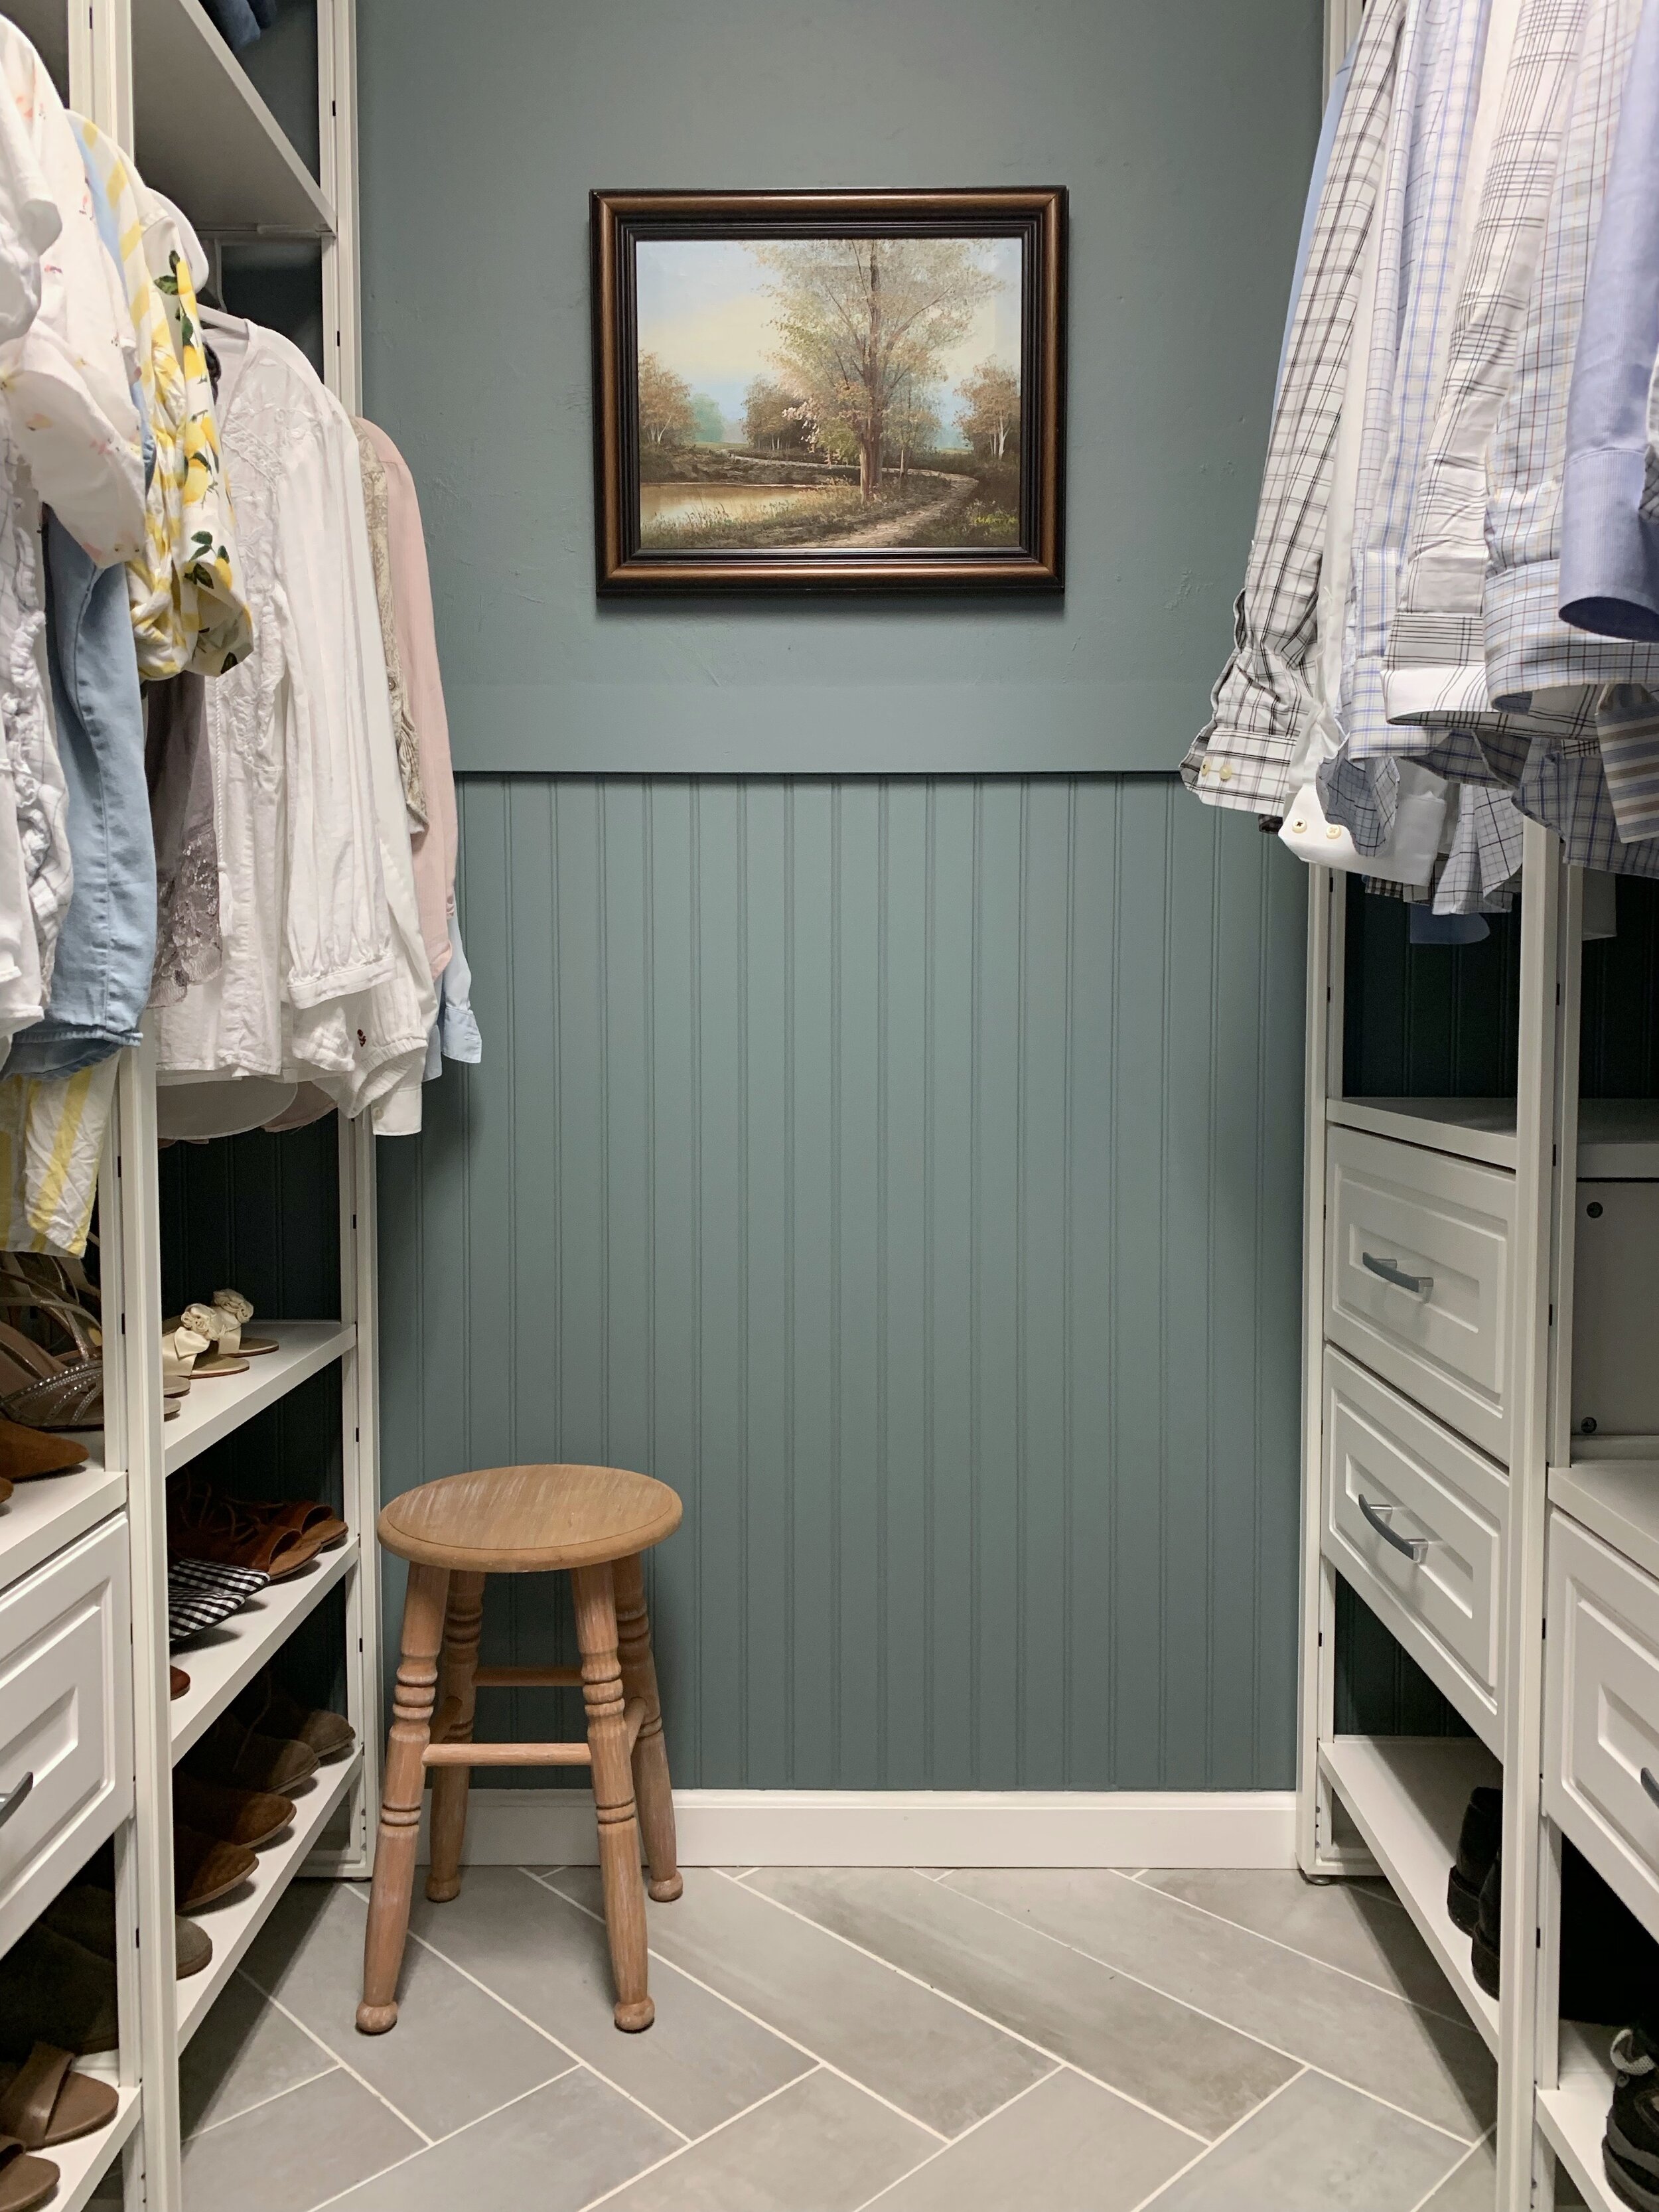
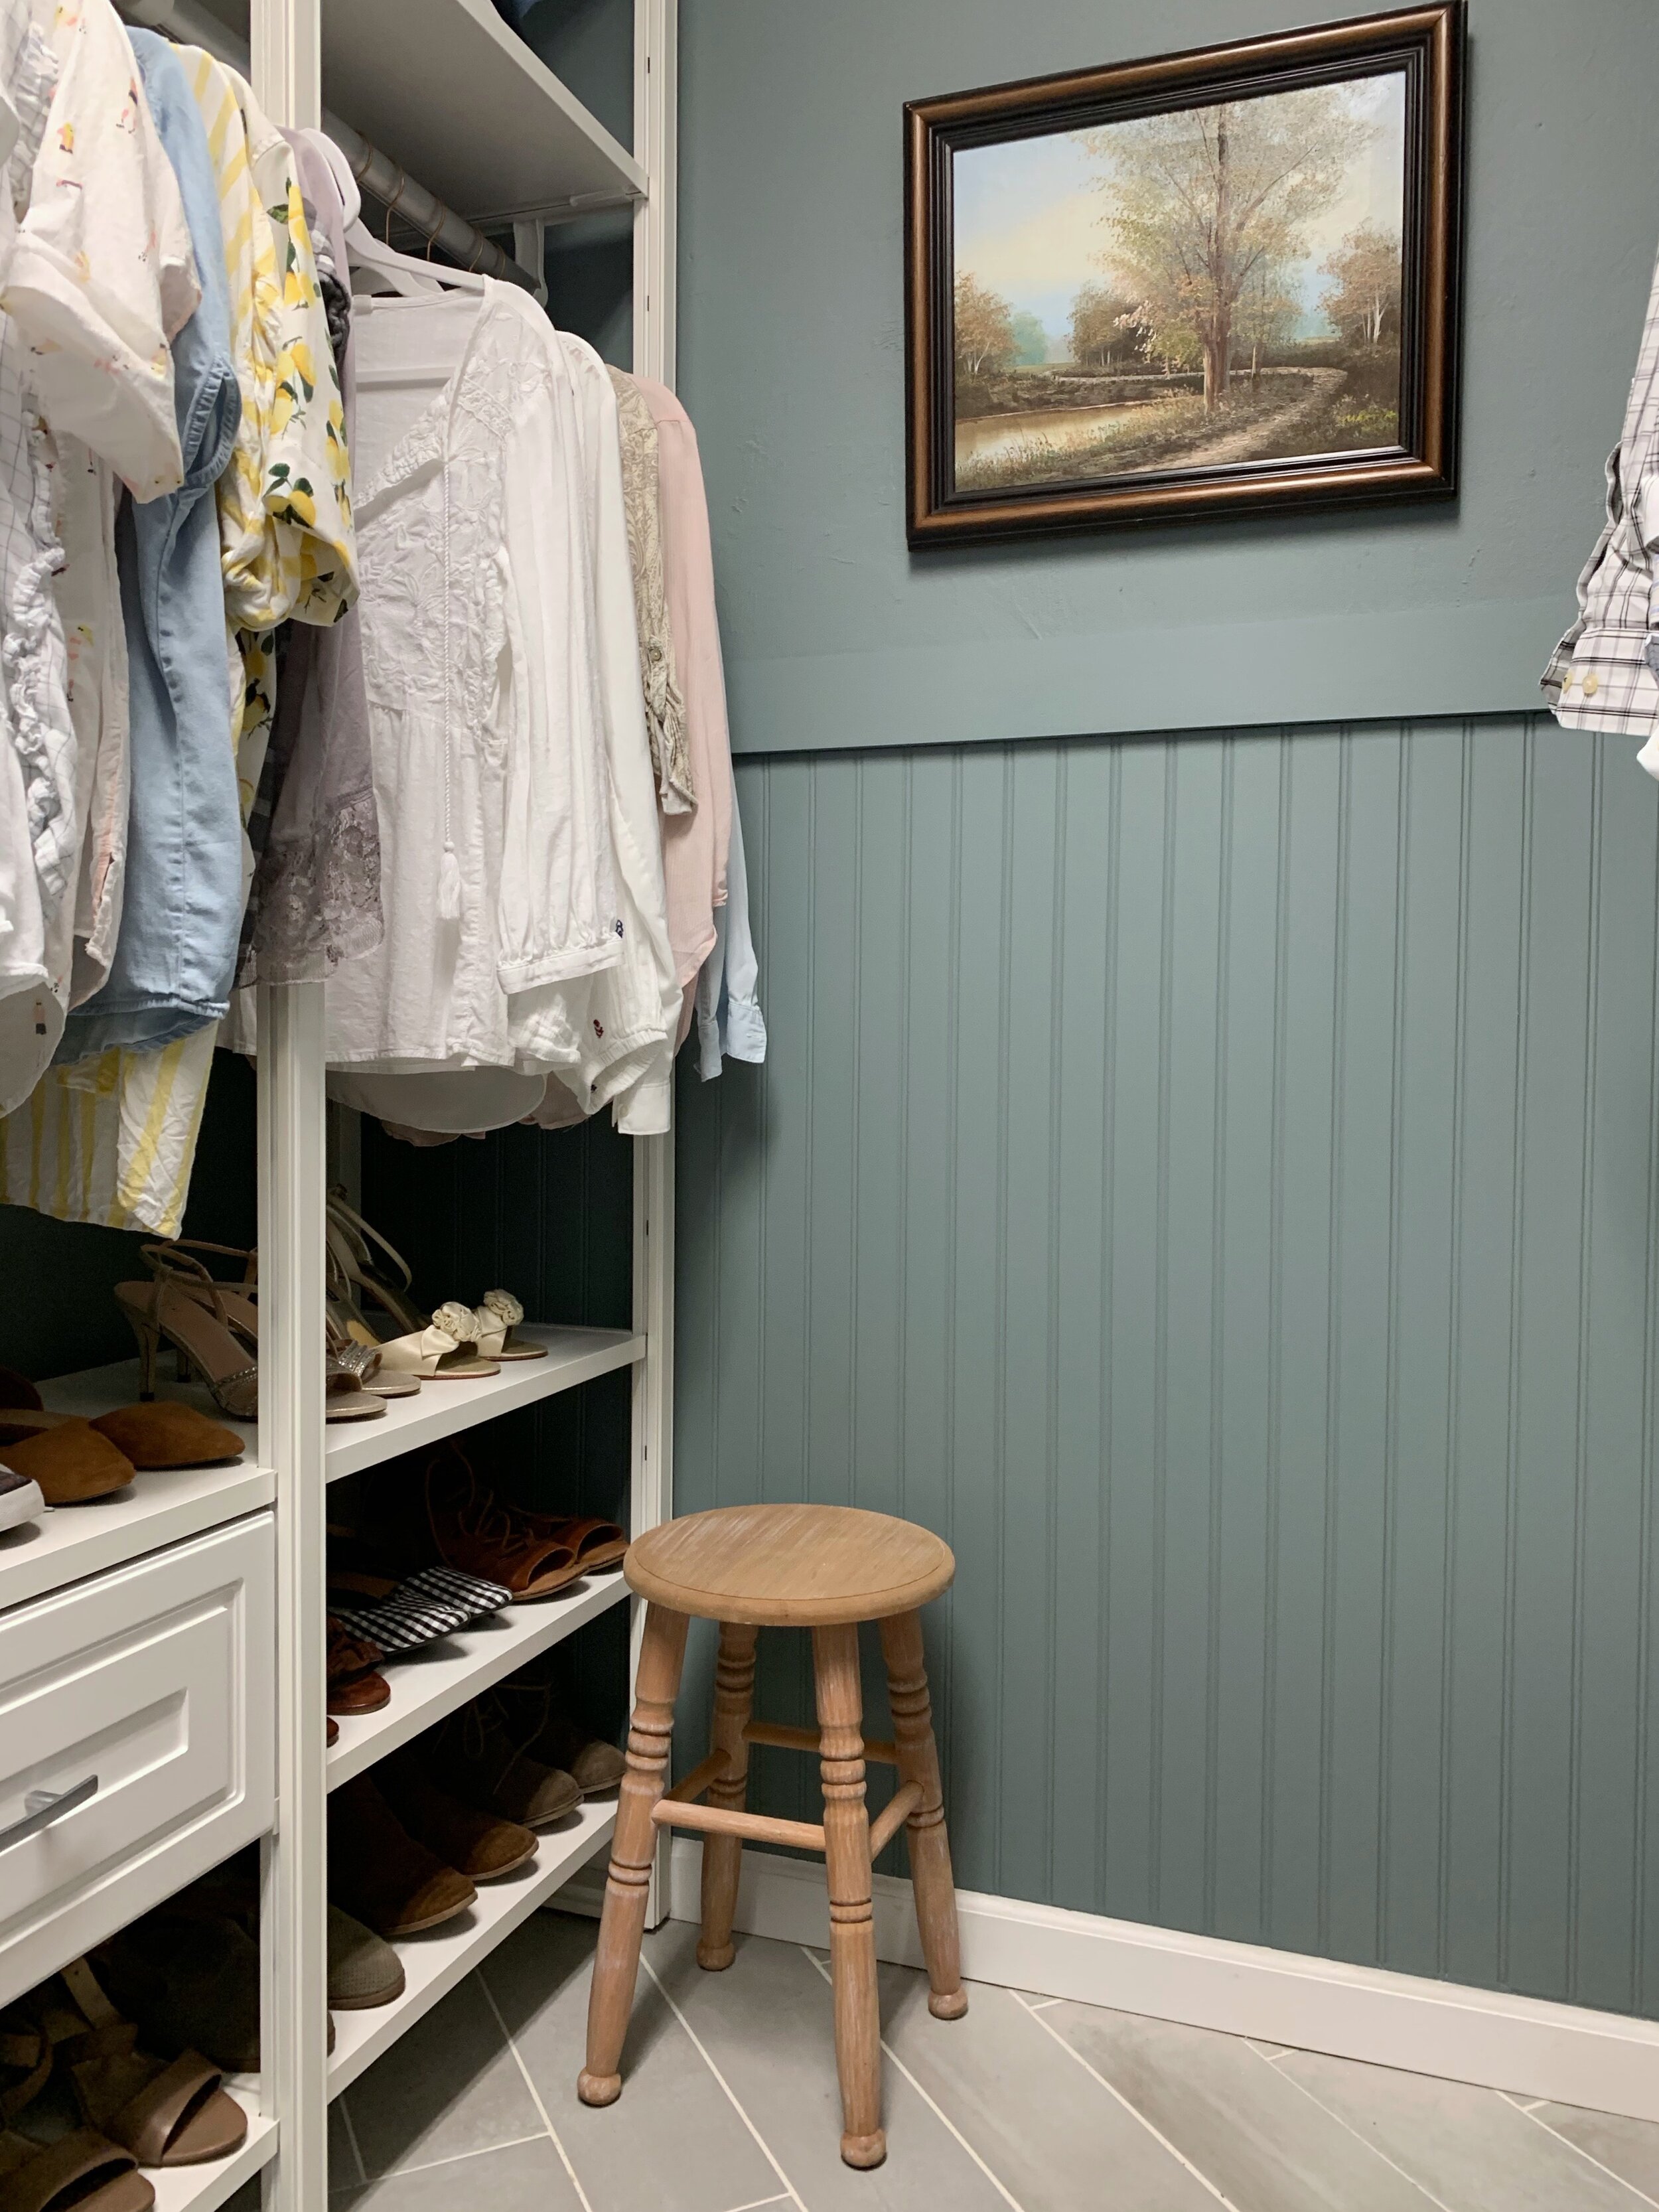
Once I cleared out our closet and patched all of the holes from our old shelving, I gave it a fresh coat of paint and added some beadboard to the back wall using left over materials from our bedroom update. The wall color is a custom mix I made but here is the paint and formula if you’d like to use it. It’s the perfect blue/green/grey color and I’m in love!
For our closet update, we choose two of the 8’ systems. Making the storage go the length of both walls vs adding a system to the back wall as well made our closet look more neat and clutter free. I love having the pretty view when we look into the closet. Doing this actually added storage for us because we didn’t lose out on the space in the corners. It was a win win!
Something I love (there are a lot of things I love) about Closets by Liberty is that you can completely upgrade your closet in as as little as a few hours. Dan and I put two of the 8’ systems together in an afternoon. The pieces click together easily and you don’t need to own any crazy tools to complete this project: just a drill, a screwdriver, and a level.
You can watch an installation video through the Closets by Liberty website or visit their blog for instructions.
The first step is to assemble the frames. Be sure the underside holes for your hanging rods are at the top of the frame. We got that part wrong and had to fix it on Dan’s side. On my side, I did my rods lower because it was better for my height so it was ok. Whew. Then you snap in the shelves at the base. It already looked so much better!!
Once you have the frames installed, you will need to brace them to the wall. Then you can add the rest of your shelves and drawers. Did I mention the drawers are SOFT CLOSE?! I have a soft spot for soft close. ;)
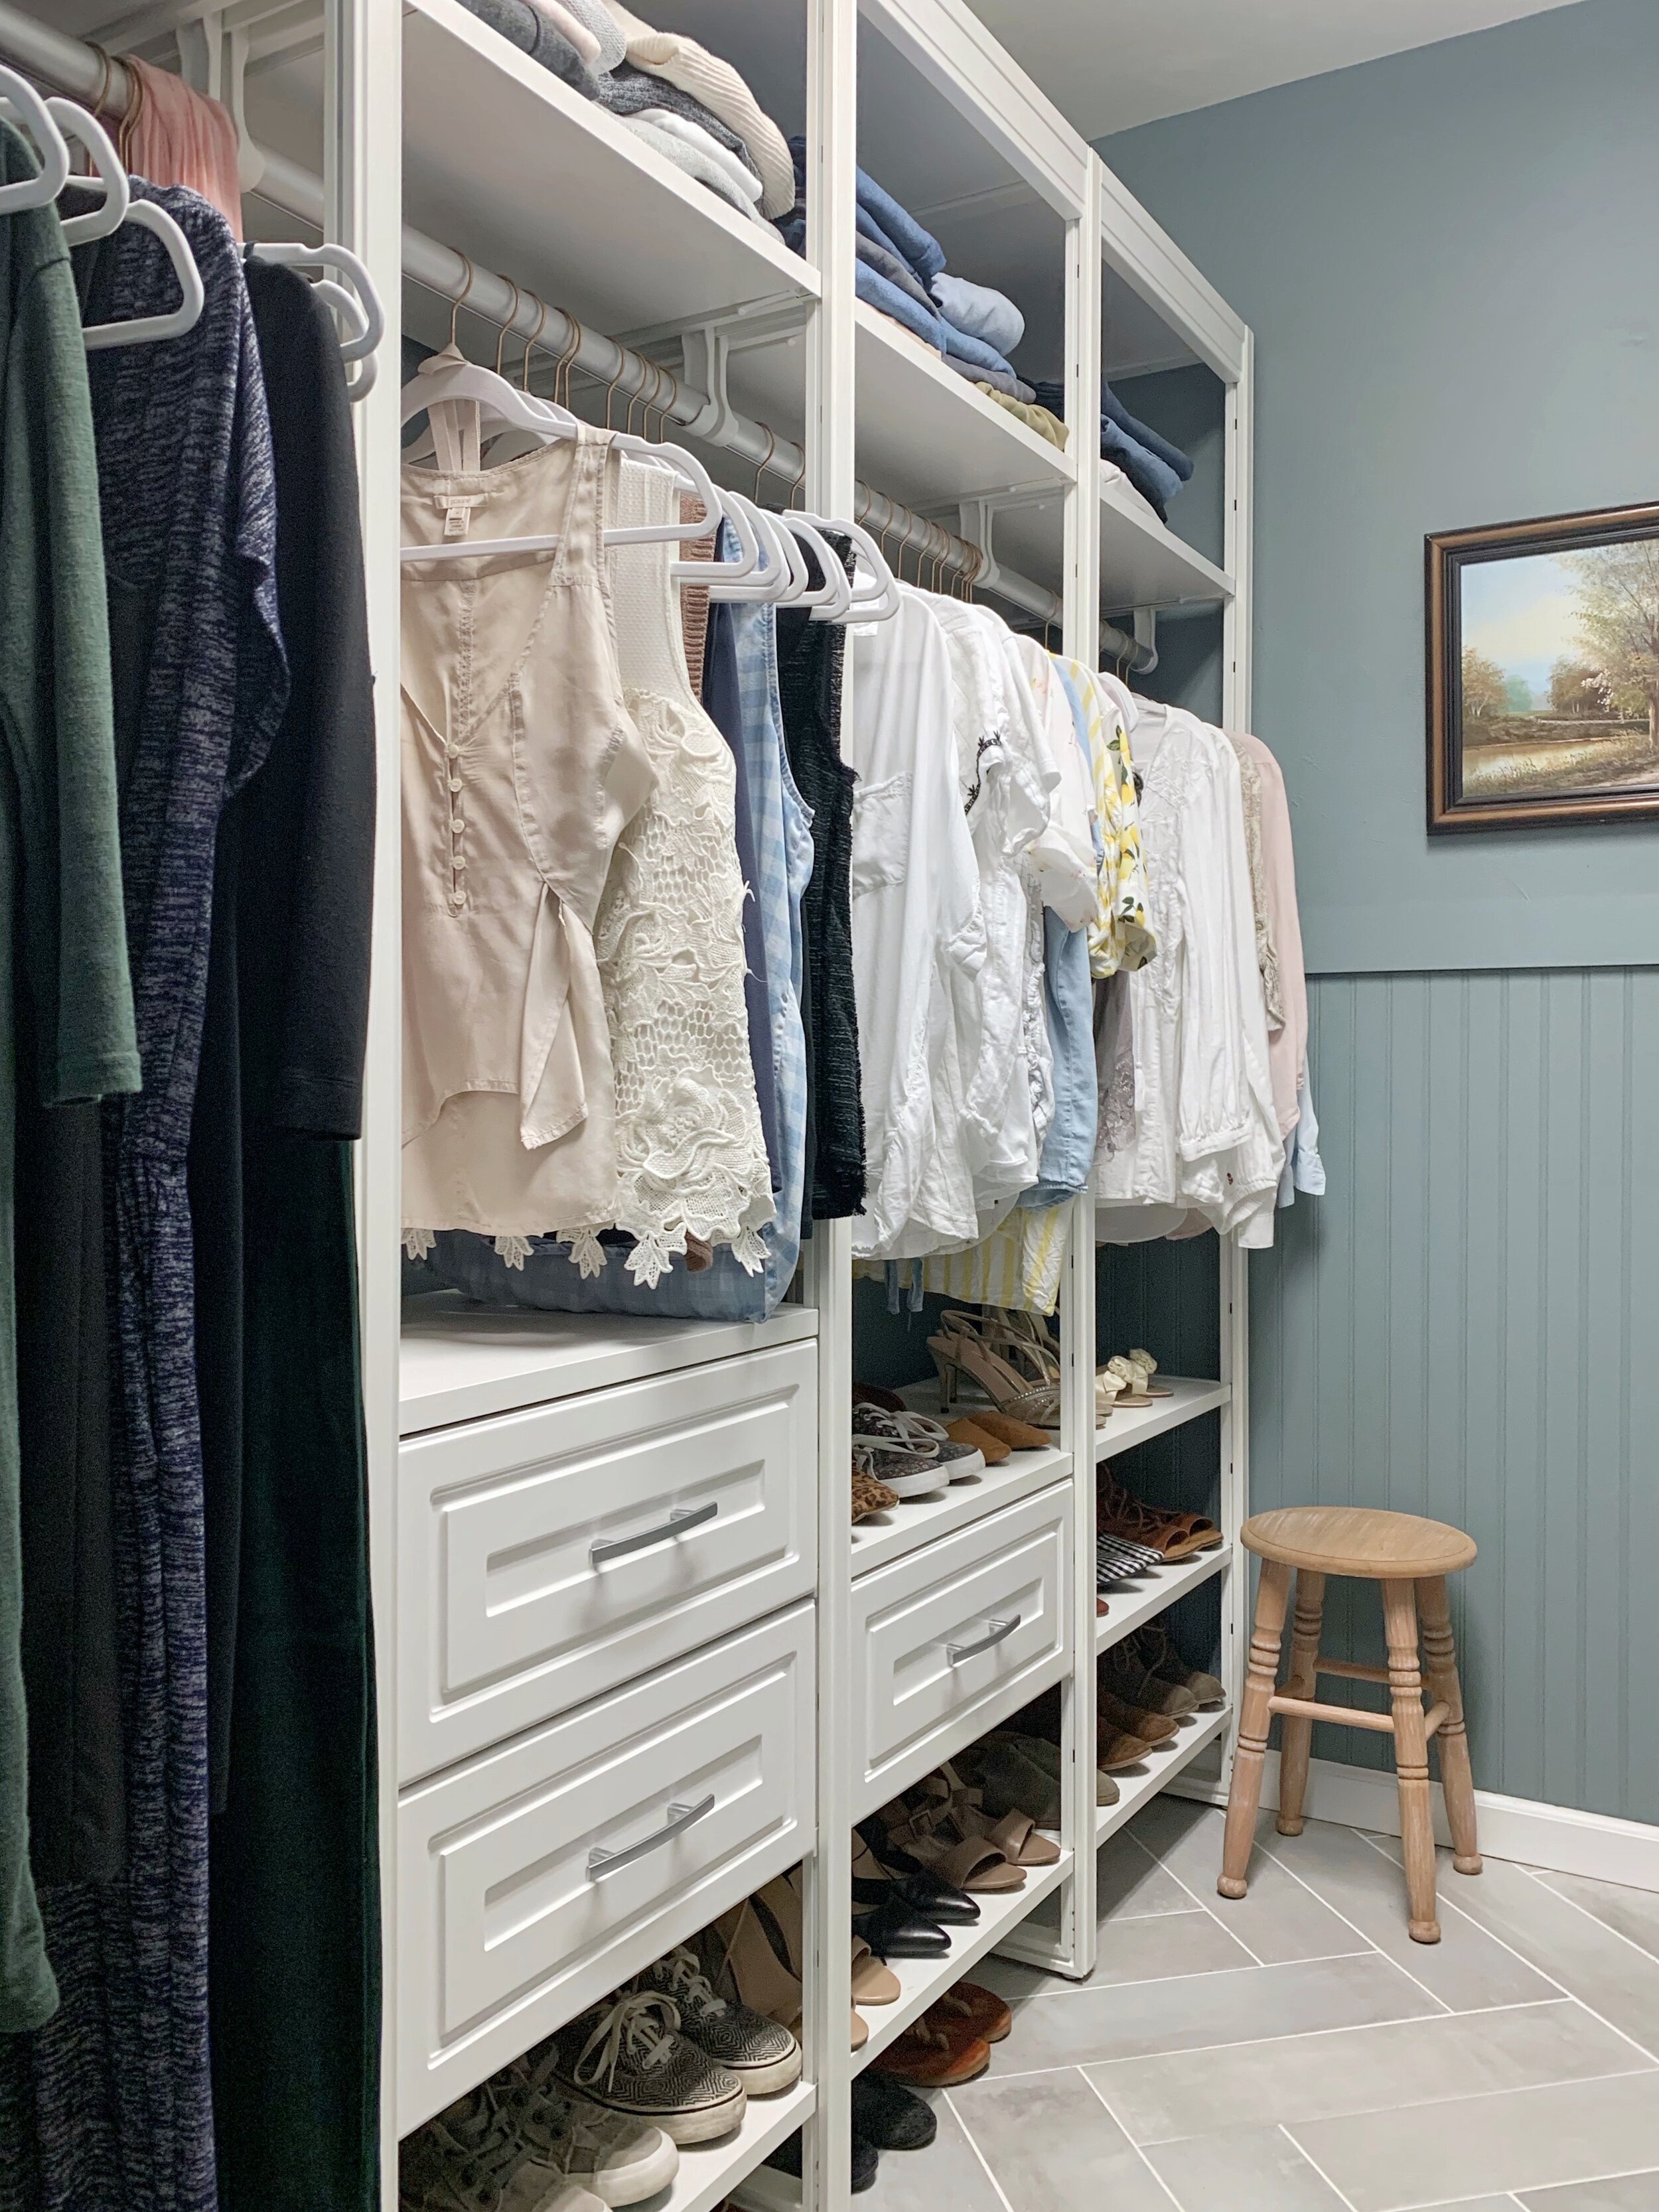
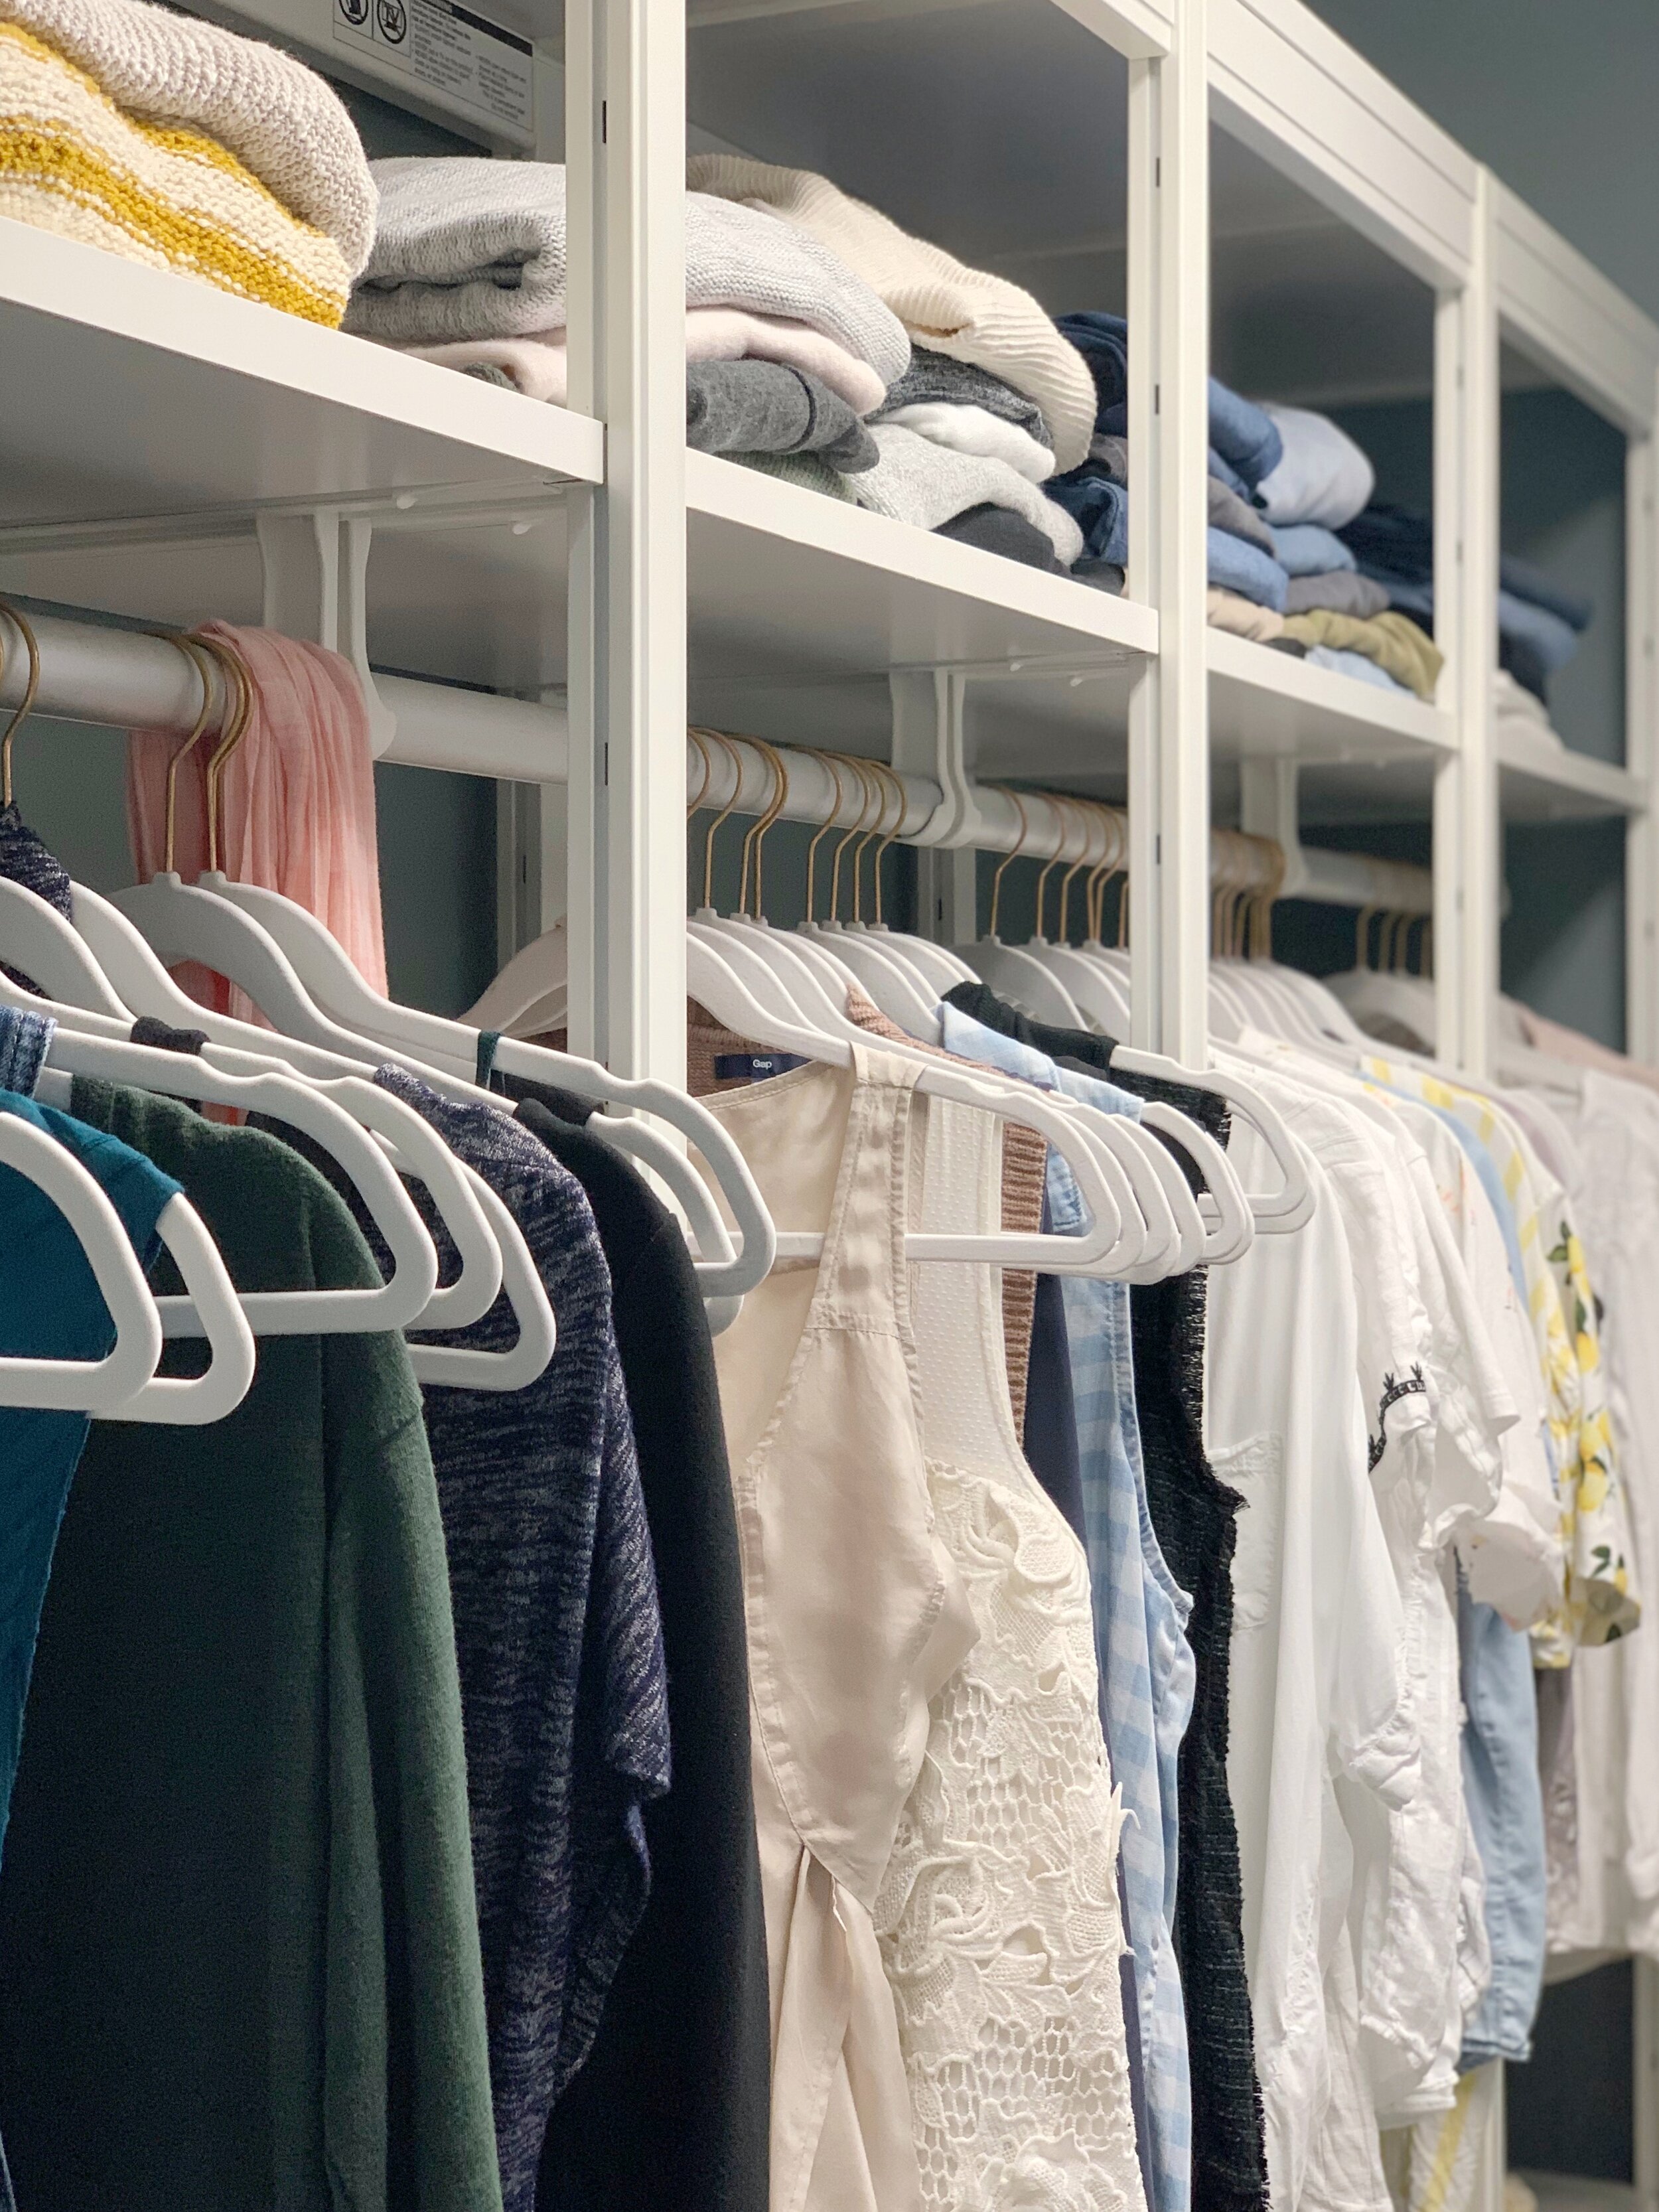
So pretty, right?! Another thing I love about this system from Closets by Liberty is that you can arrange your system any way you want. Once you have it set, swapping the configuration is super easy too. The drawers, hanging rods, and shelves can all be moved and rearranged in a matter of seconds. It took me a few tries to decide how I wanted mine and for once my lack of decision skills wasn’t even annoying. Ha! As my storage needs change, I can switch it up easily whenever I want. Which is so nice! You guys know I like to change things up! Here’s a look at my side of the closet…
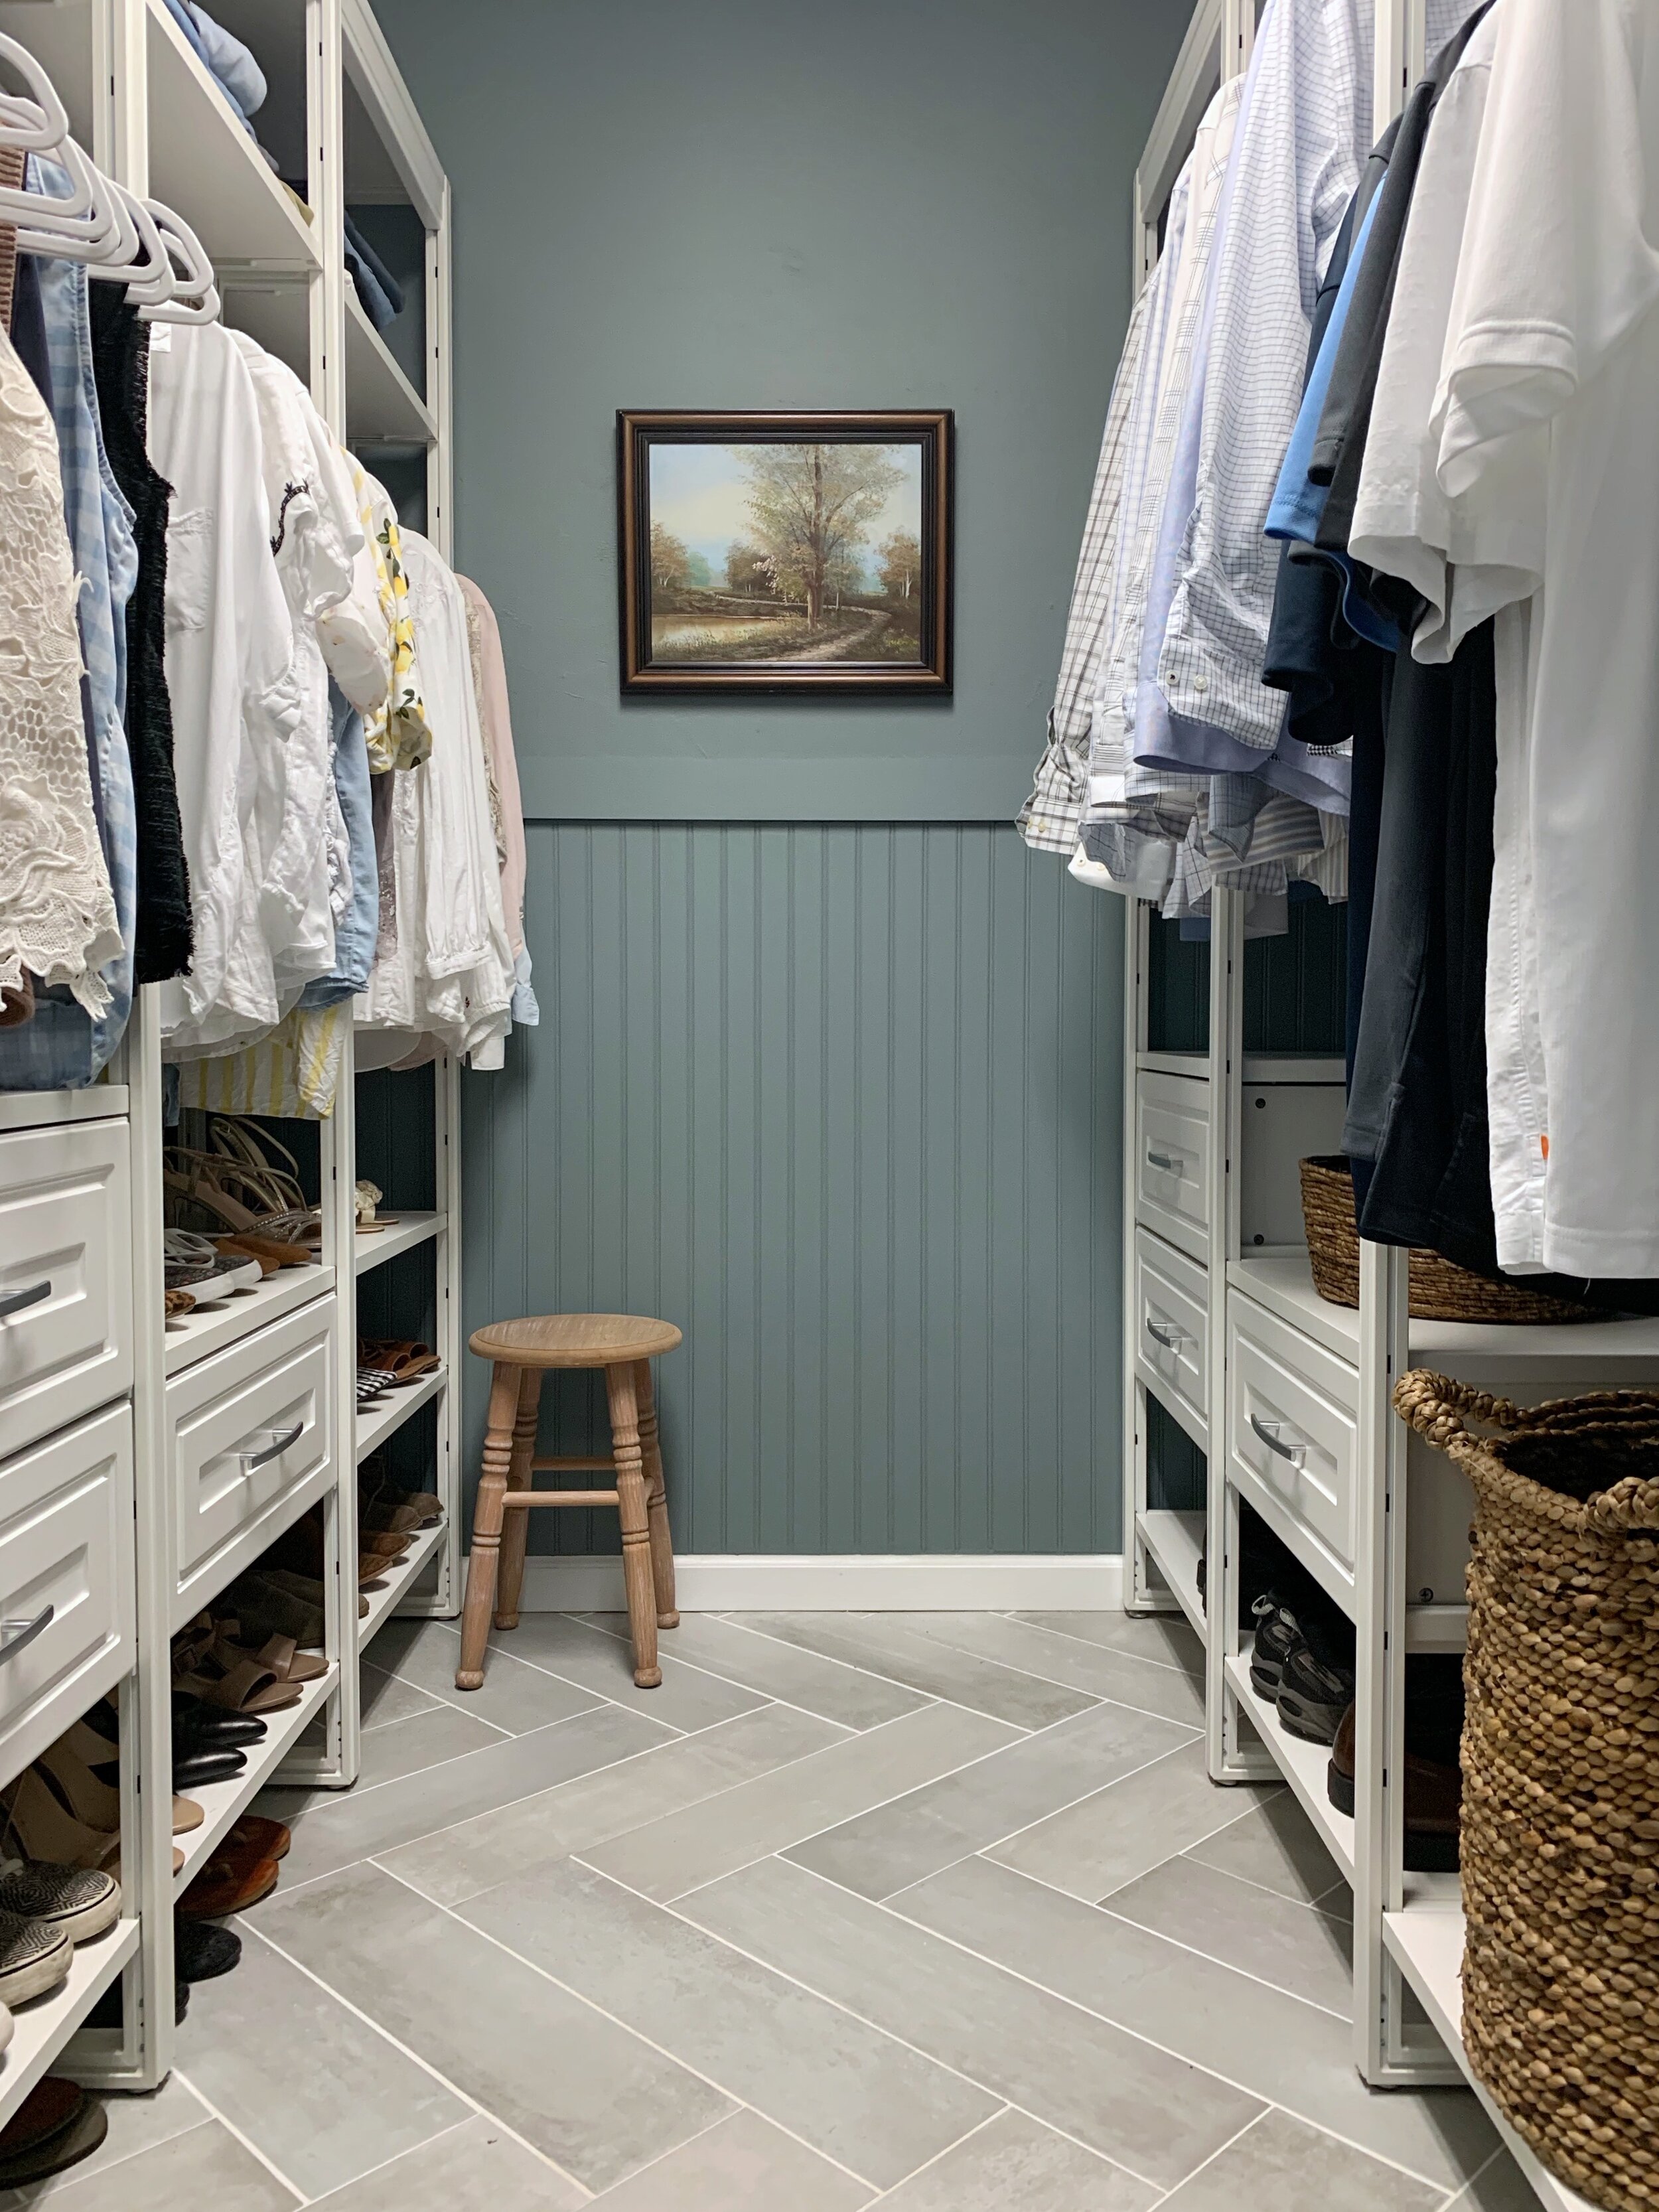
And Dan’s…
Closets by Liberty is such a great closet system. I feel organized and SO FANCY!!! We are absolutely thrilled with them! Let’s take another look at some more before and afters because they are SO satisfying.



Below you can find the links to all of the products I used for this closet update.
8’ Traditional closet system (Closets by Liberty)
Available at Home Depot / Lowe’s / Wayfair
Baskets for extra storage I ordered these baskets but they haven’t arrived yet. They’ll fit PERFECTLY on top of each section and they’re SO pretty. Can you tell I’m excited about these baskets?
*This post is part of a paid partnership with Closets by Liberty. All opinions are my own.
